Screenshots
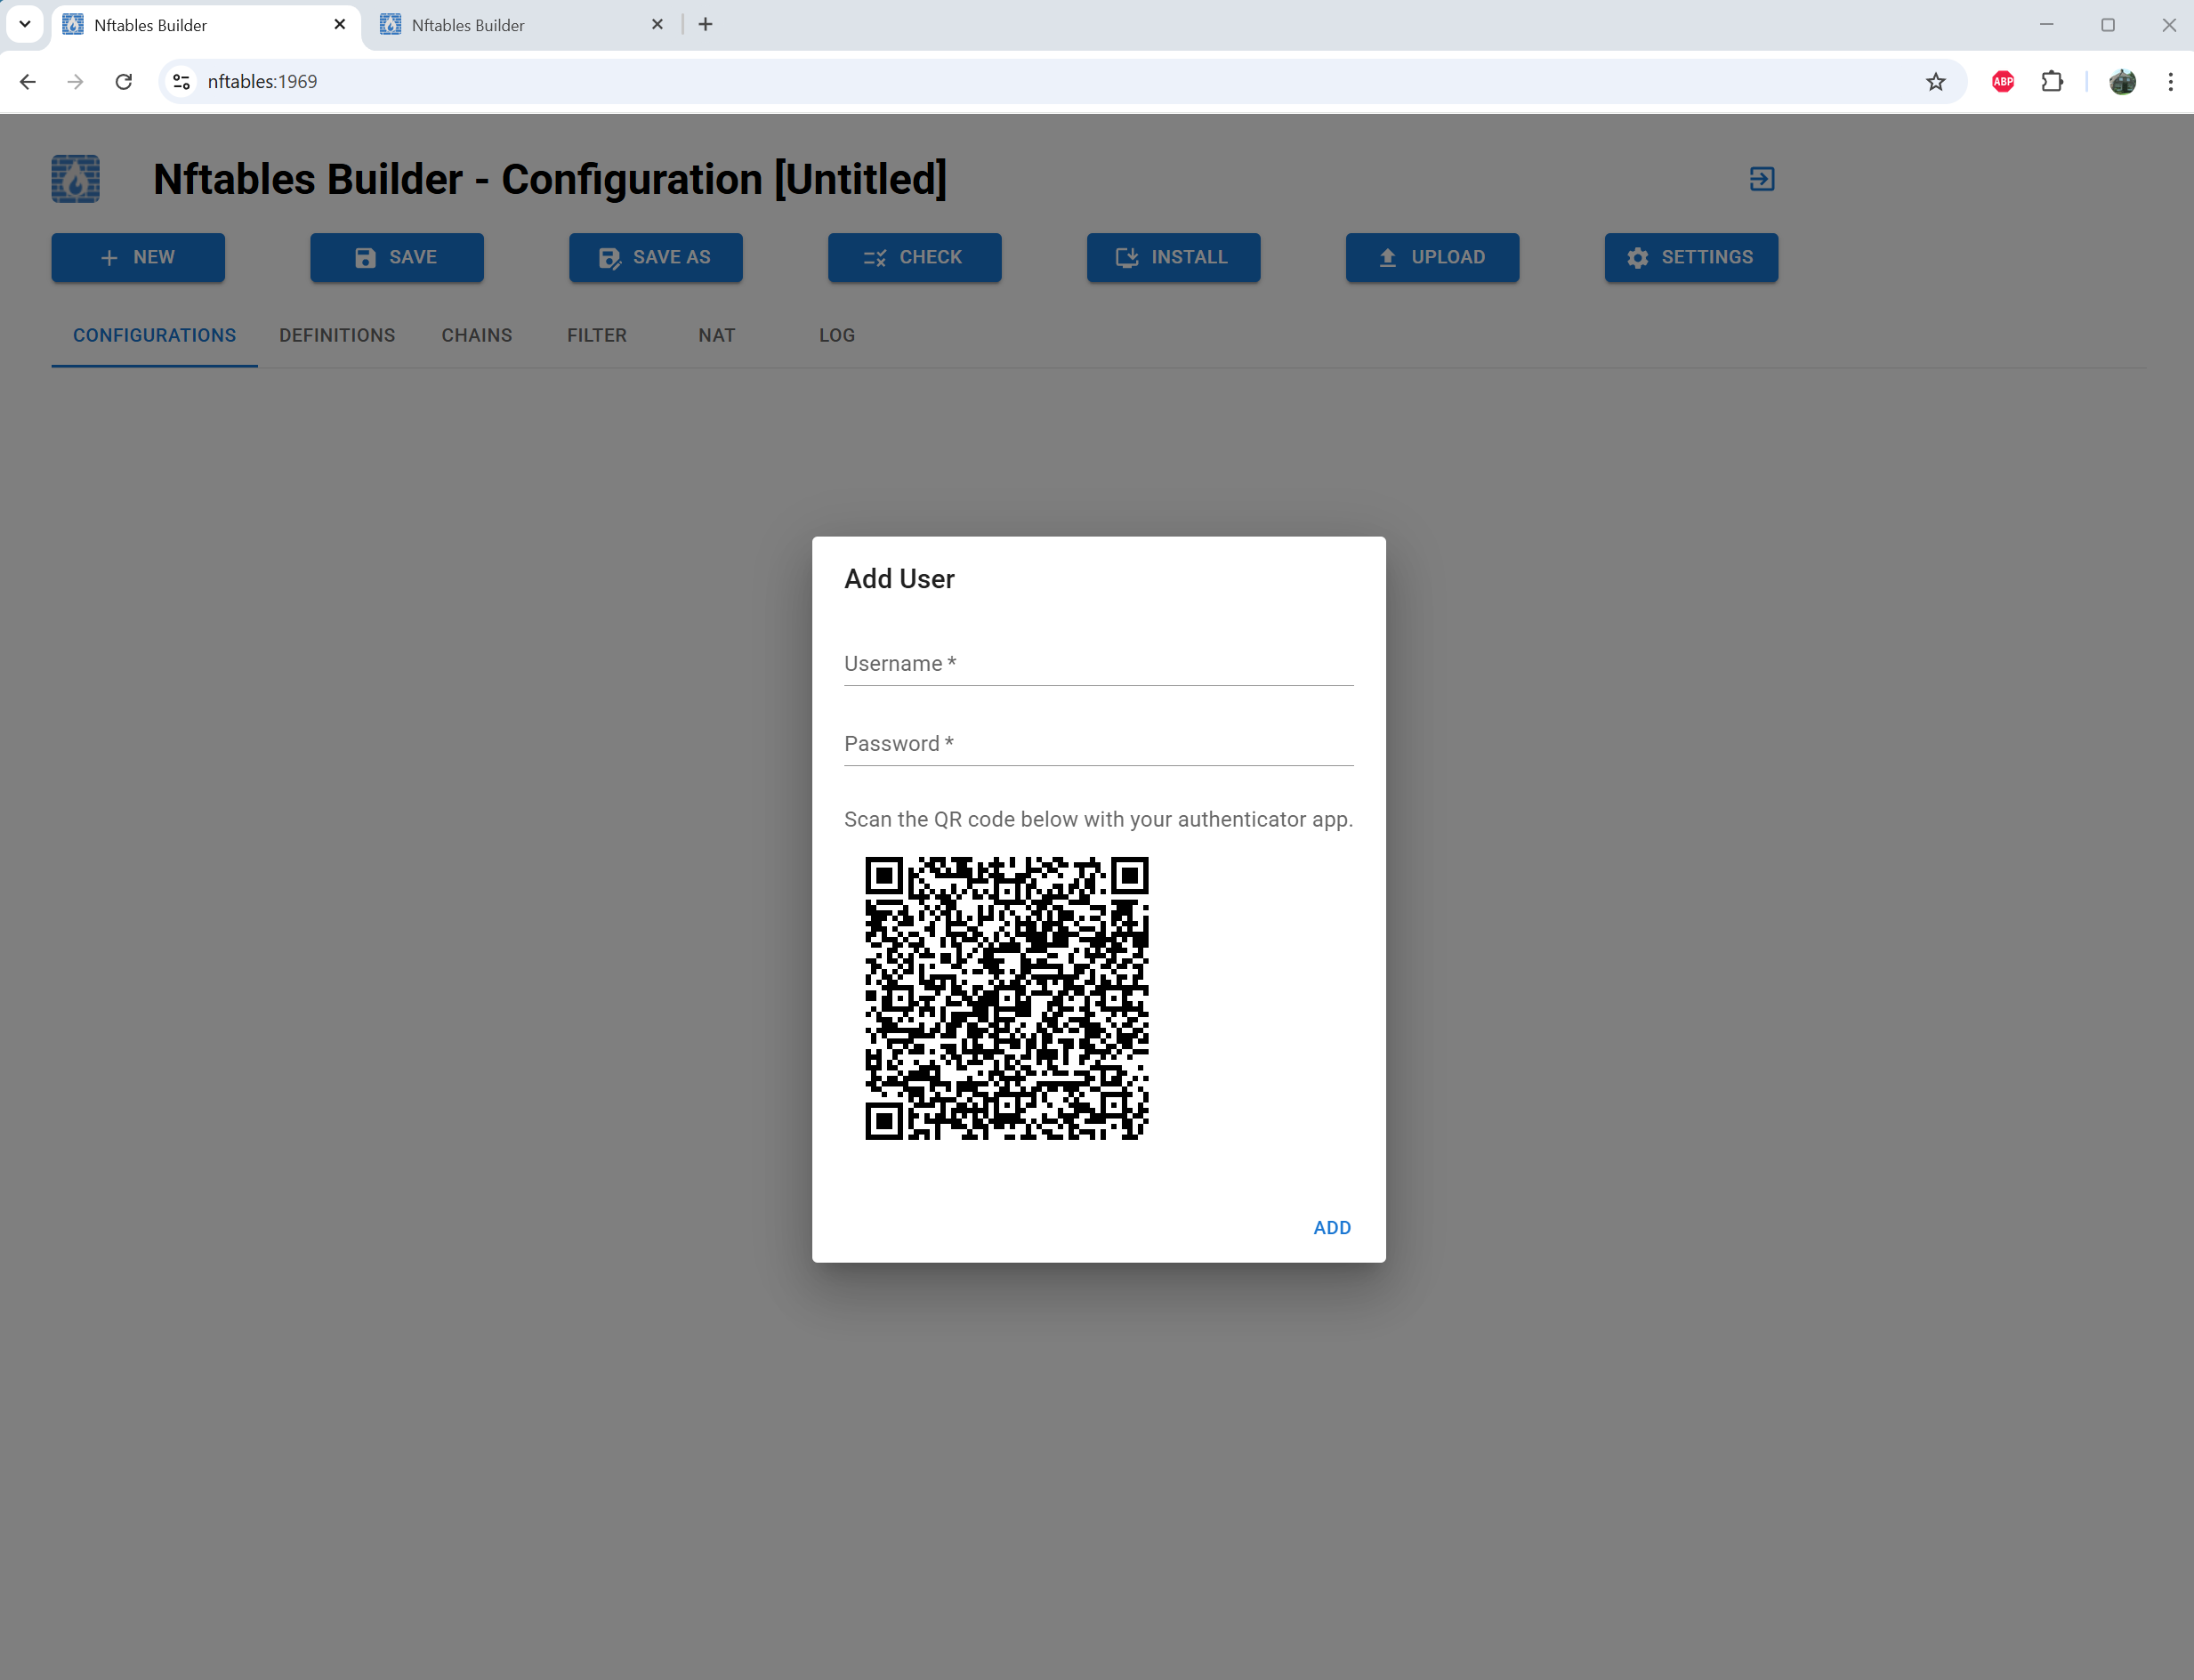
Start by adding a user

Login
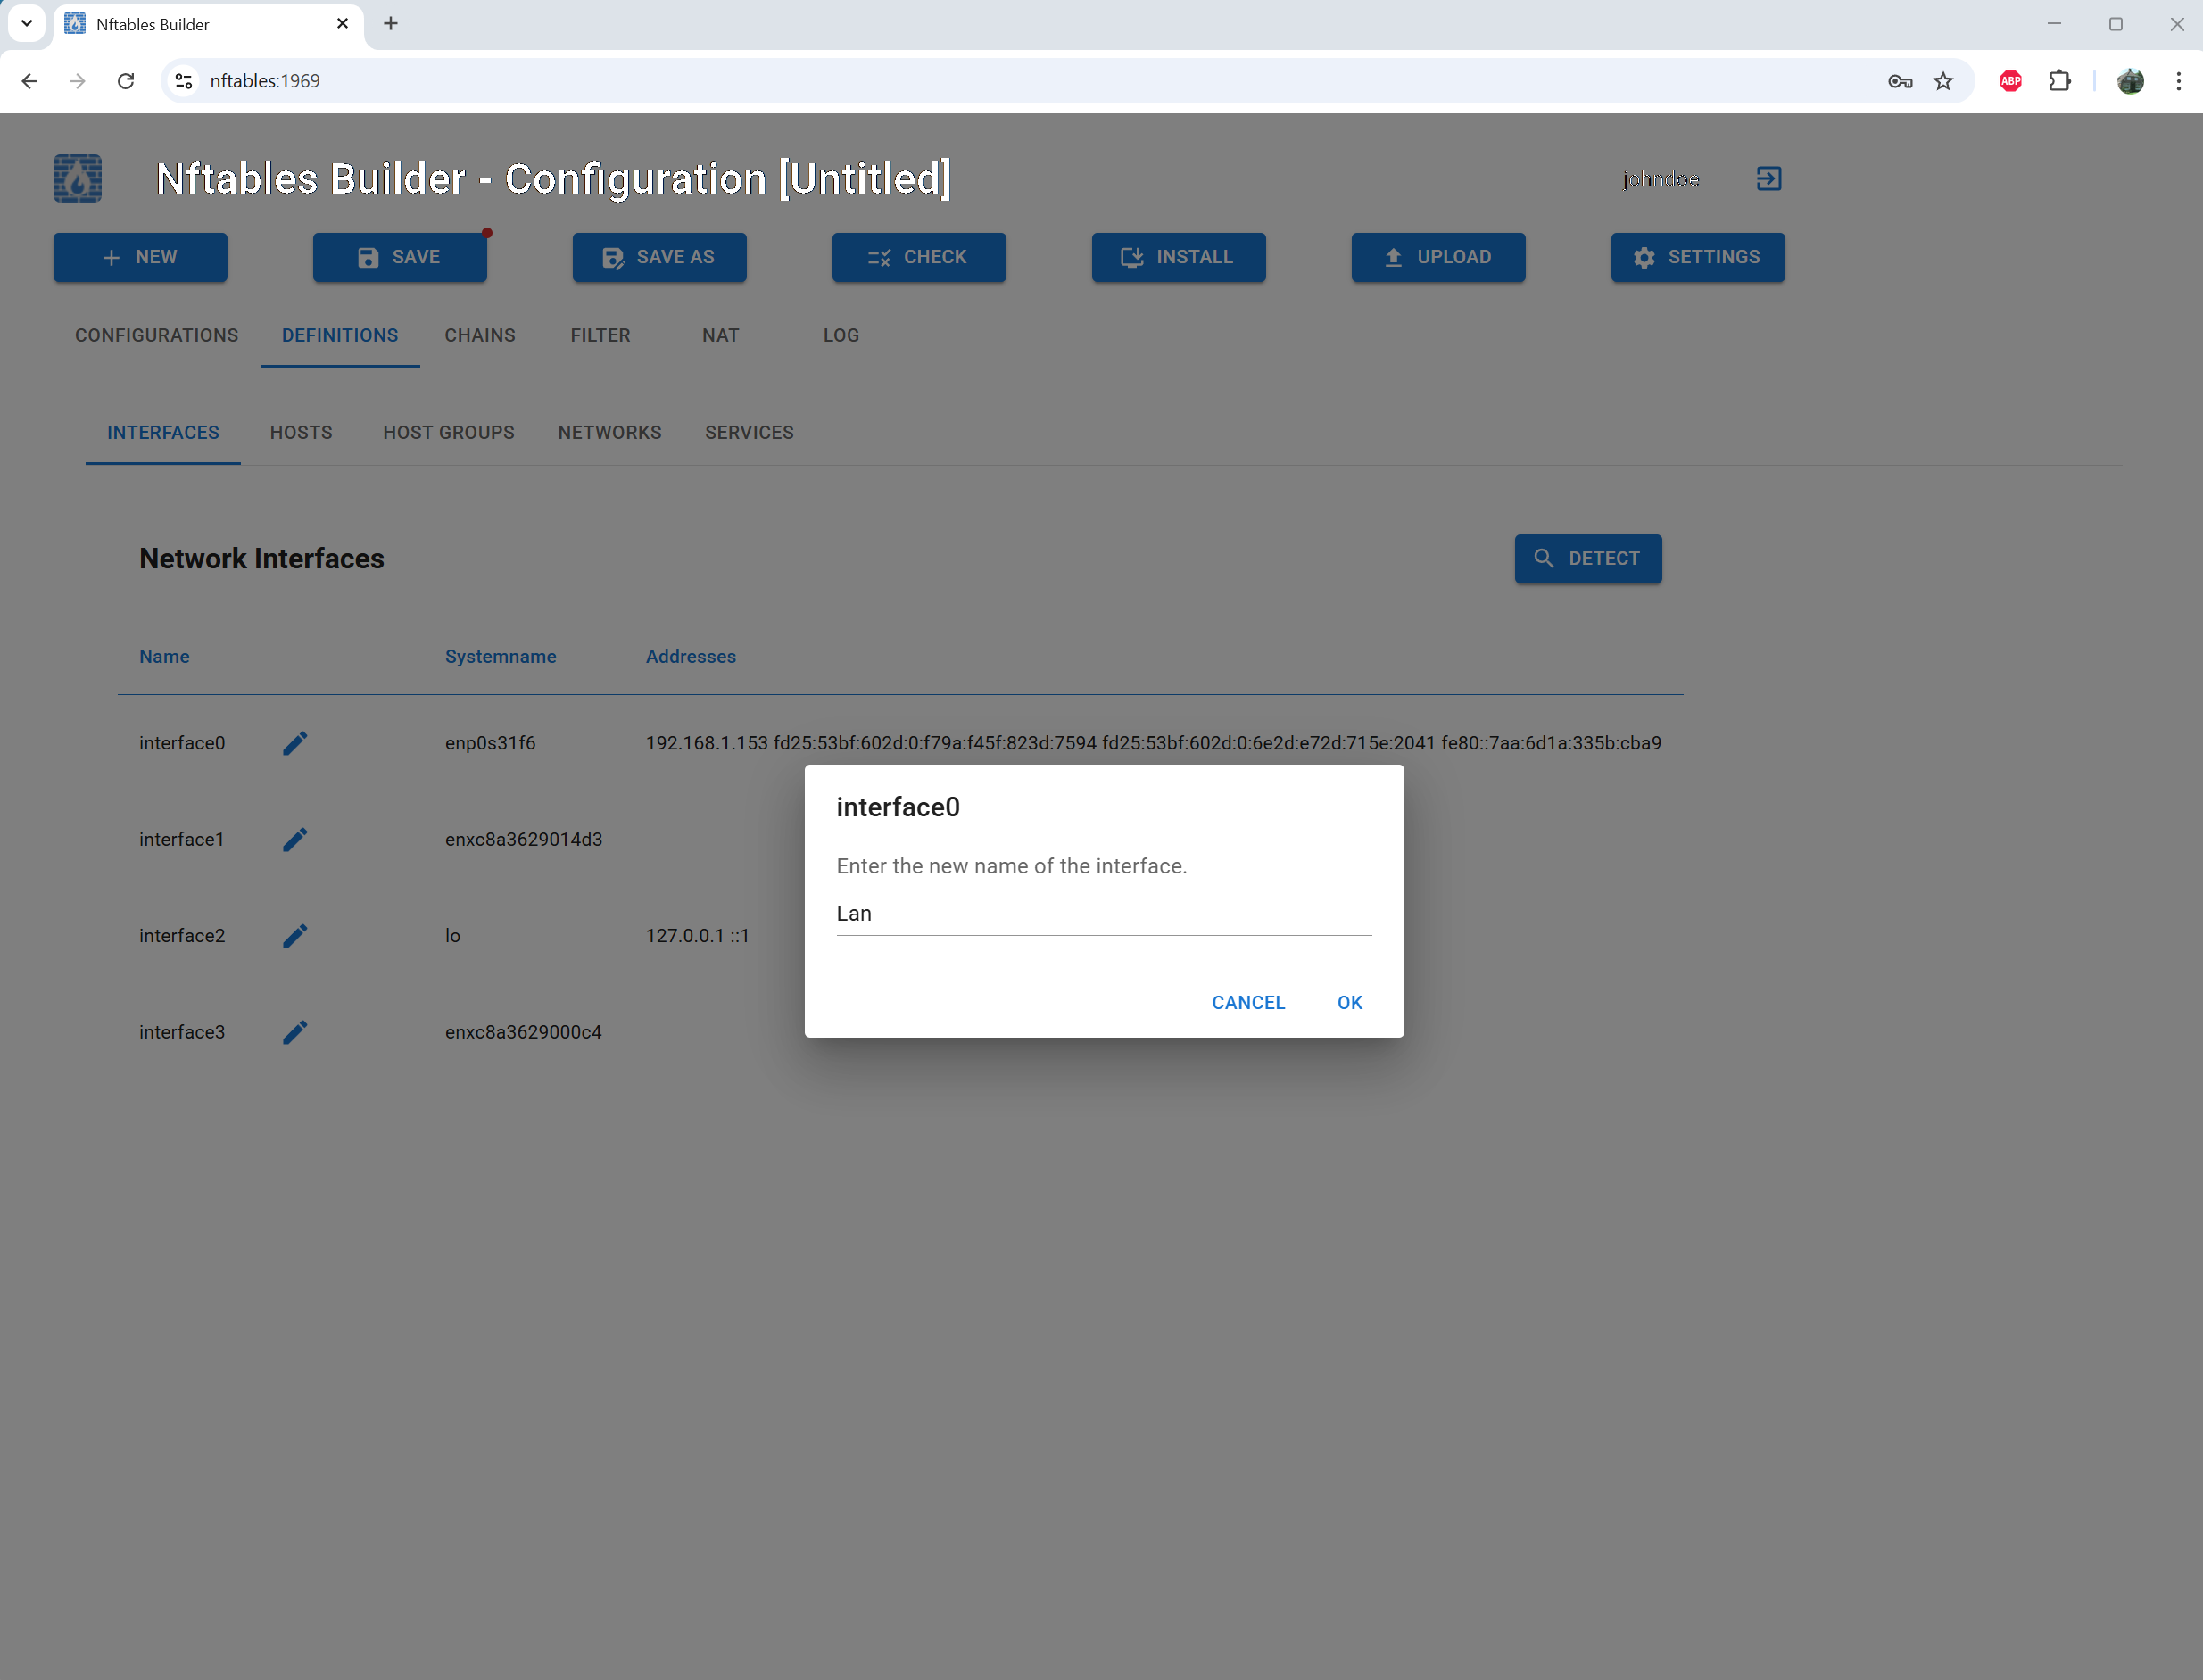
Detect interfaces and give them a recognizable name
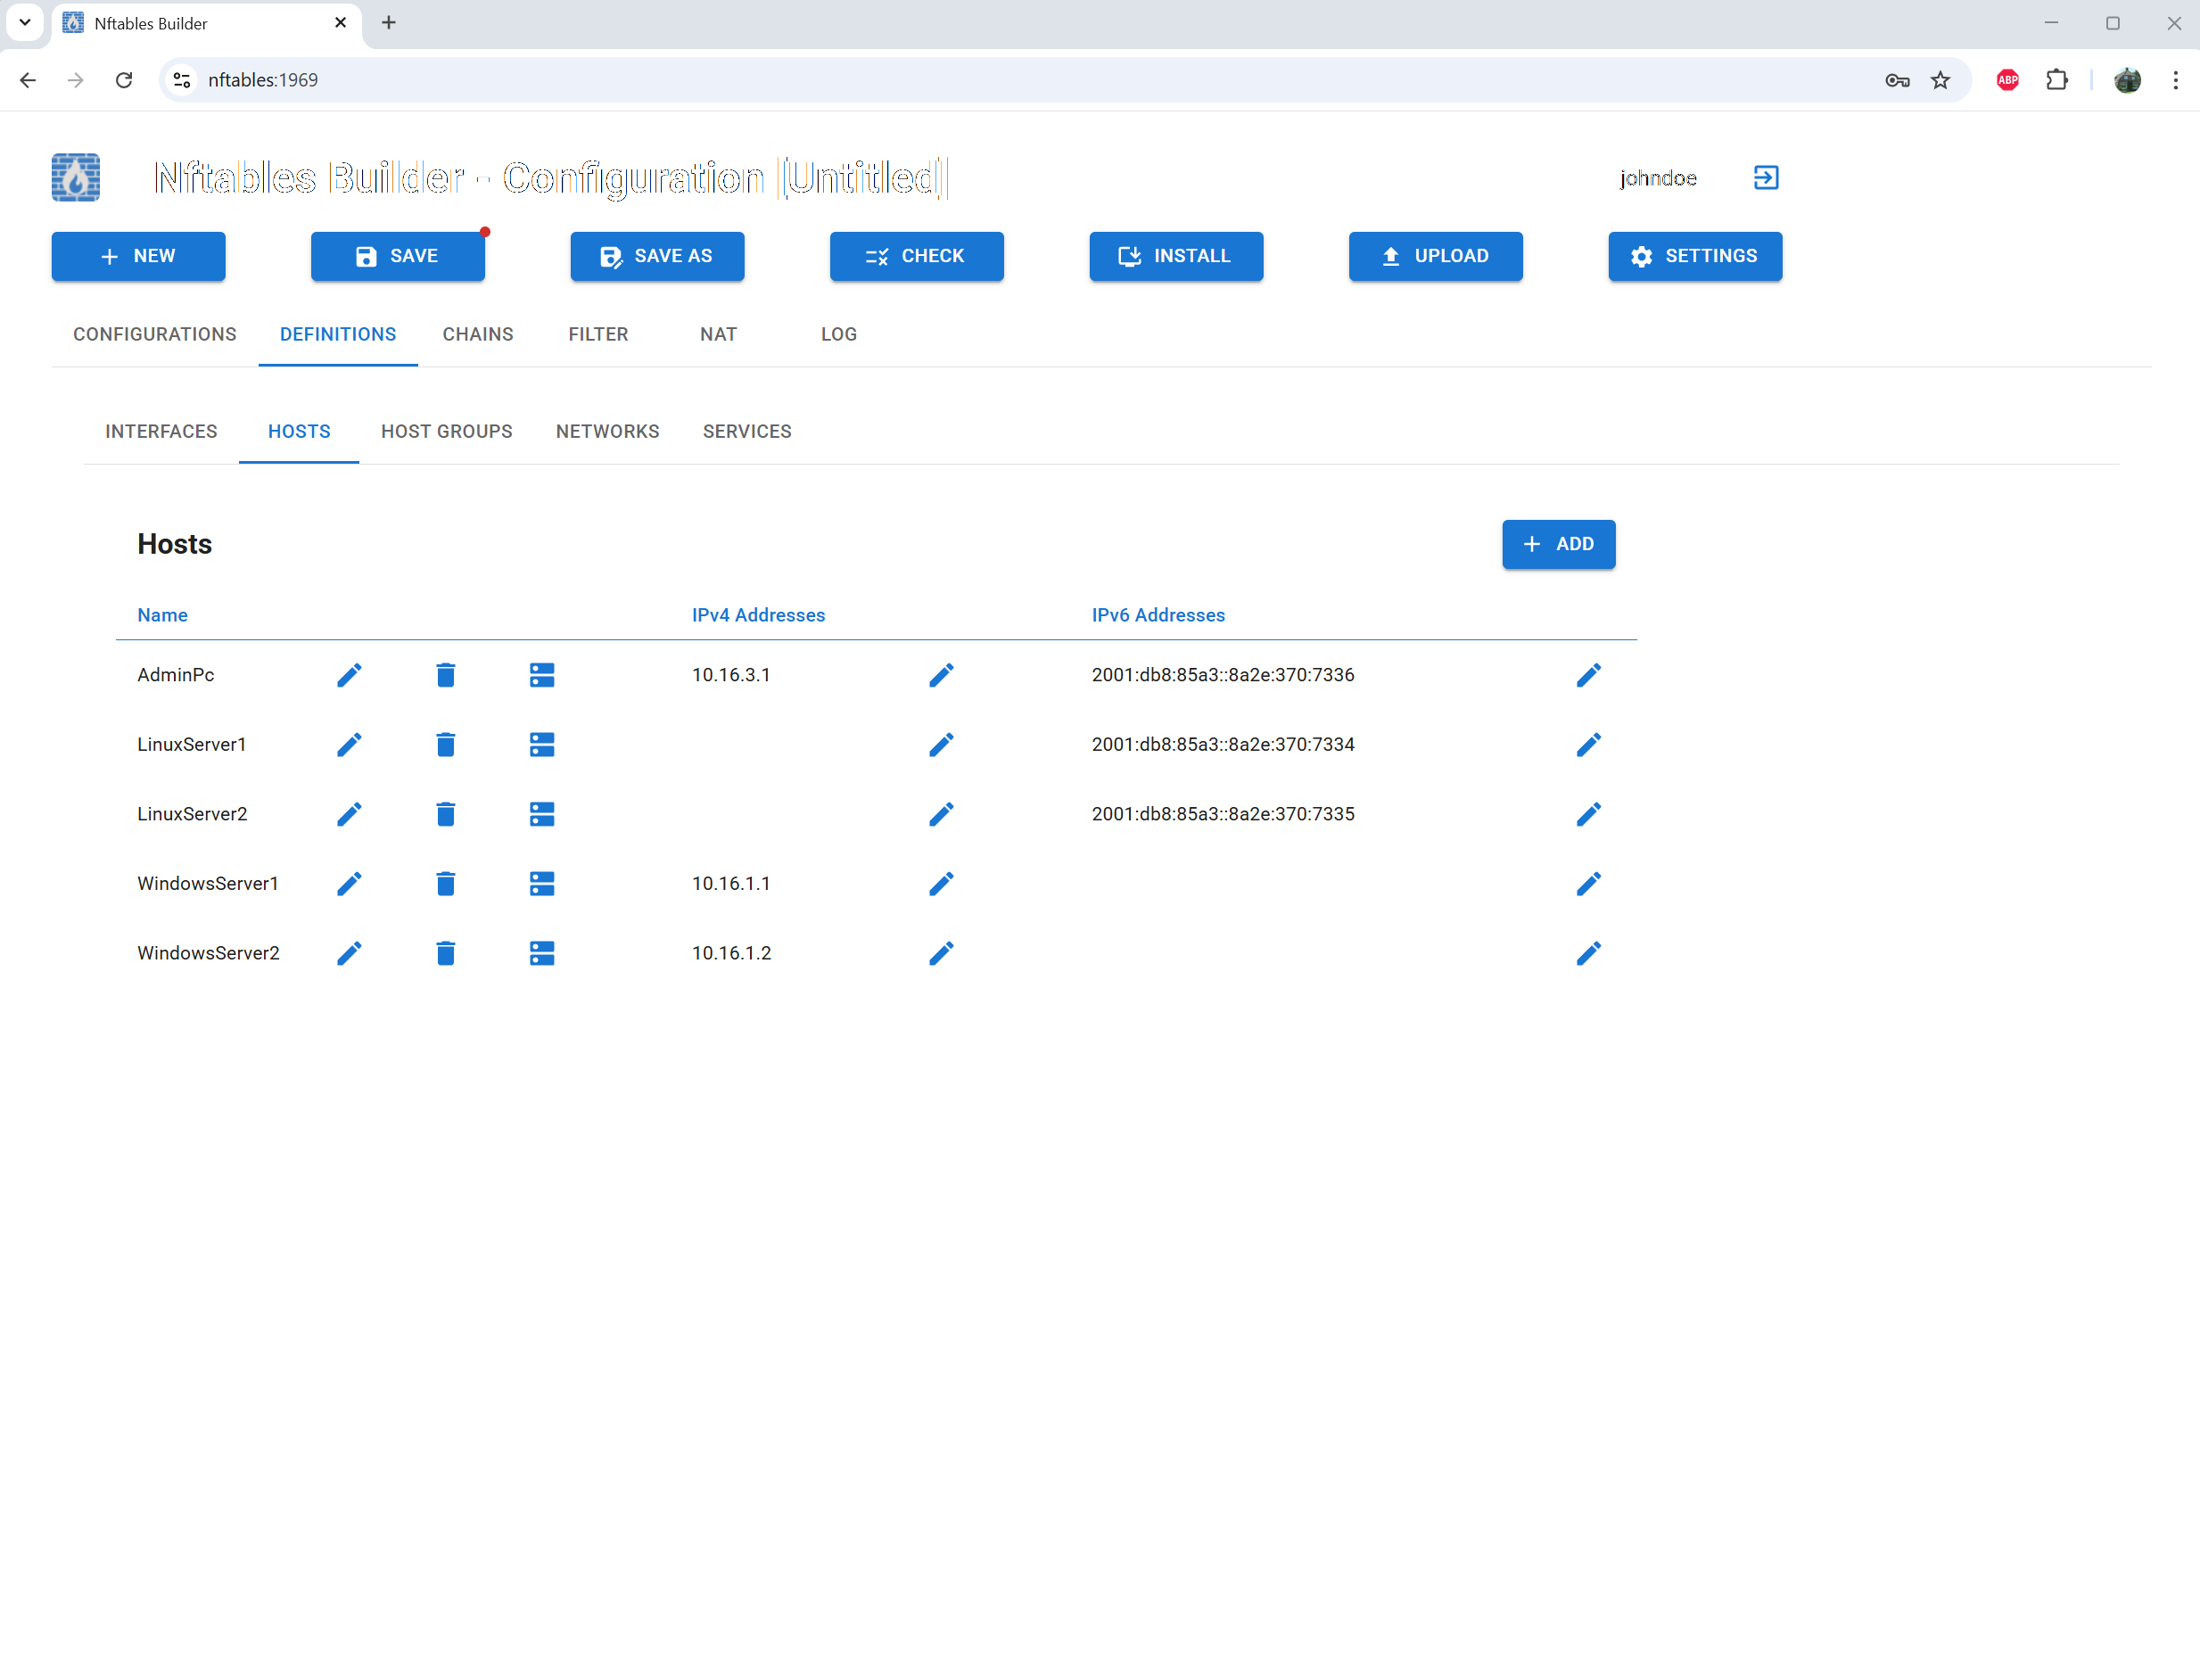
Define hosts
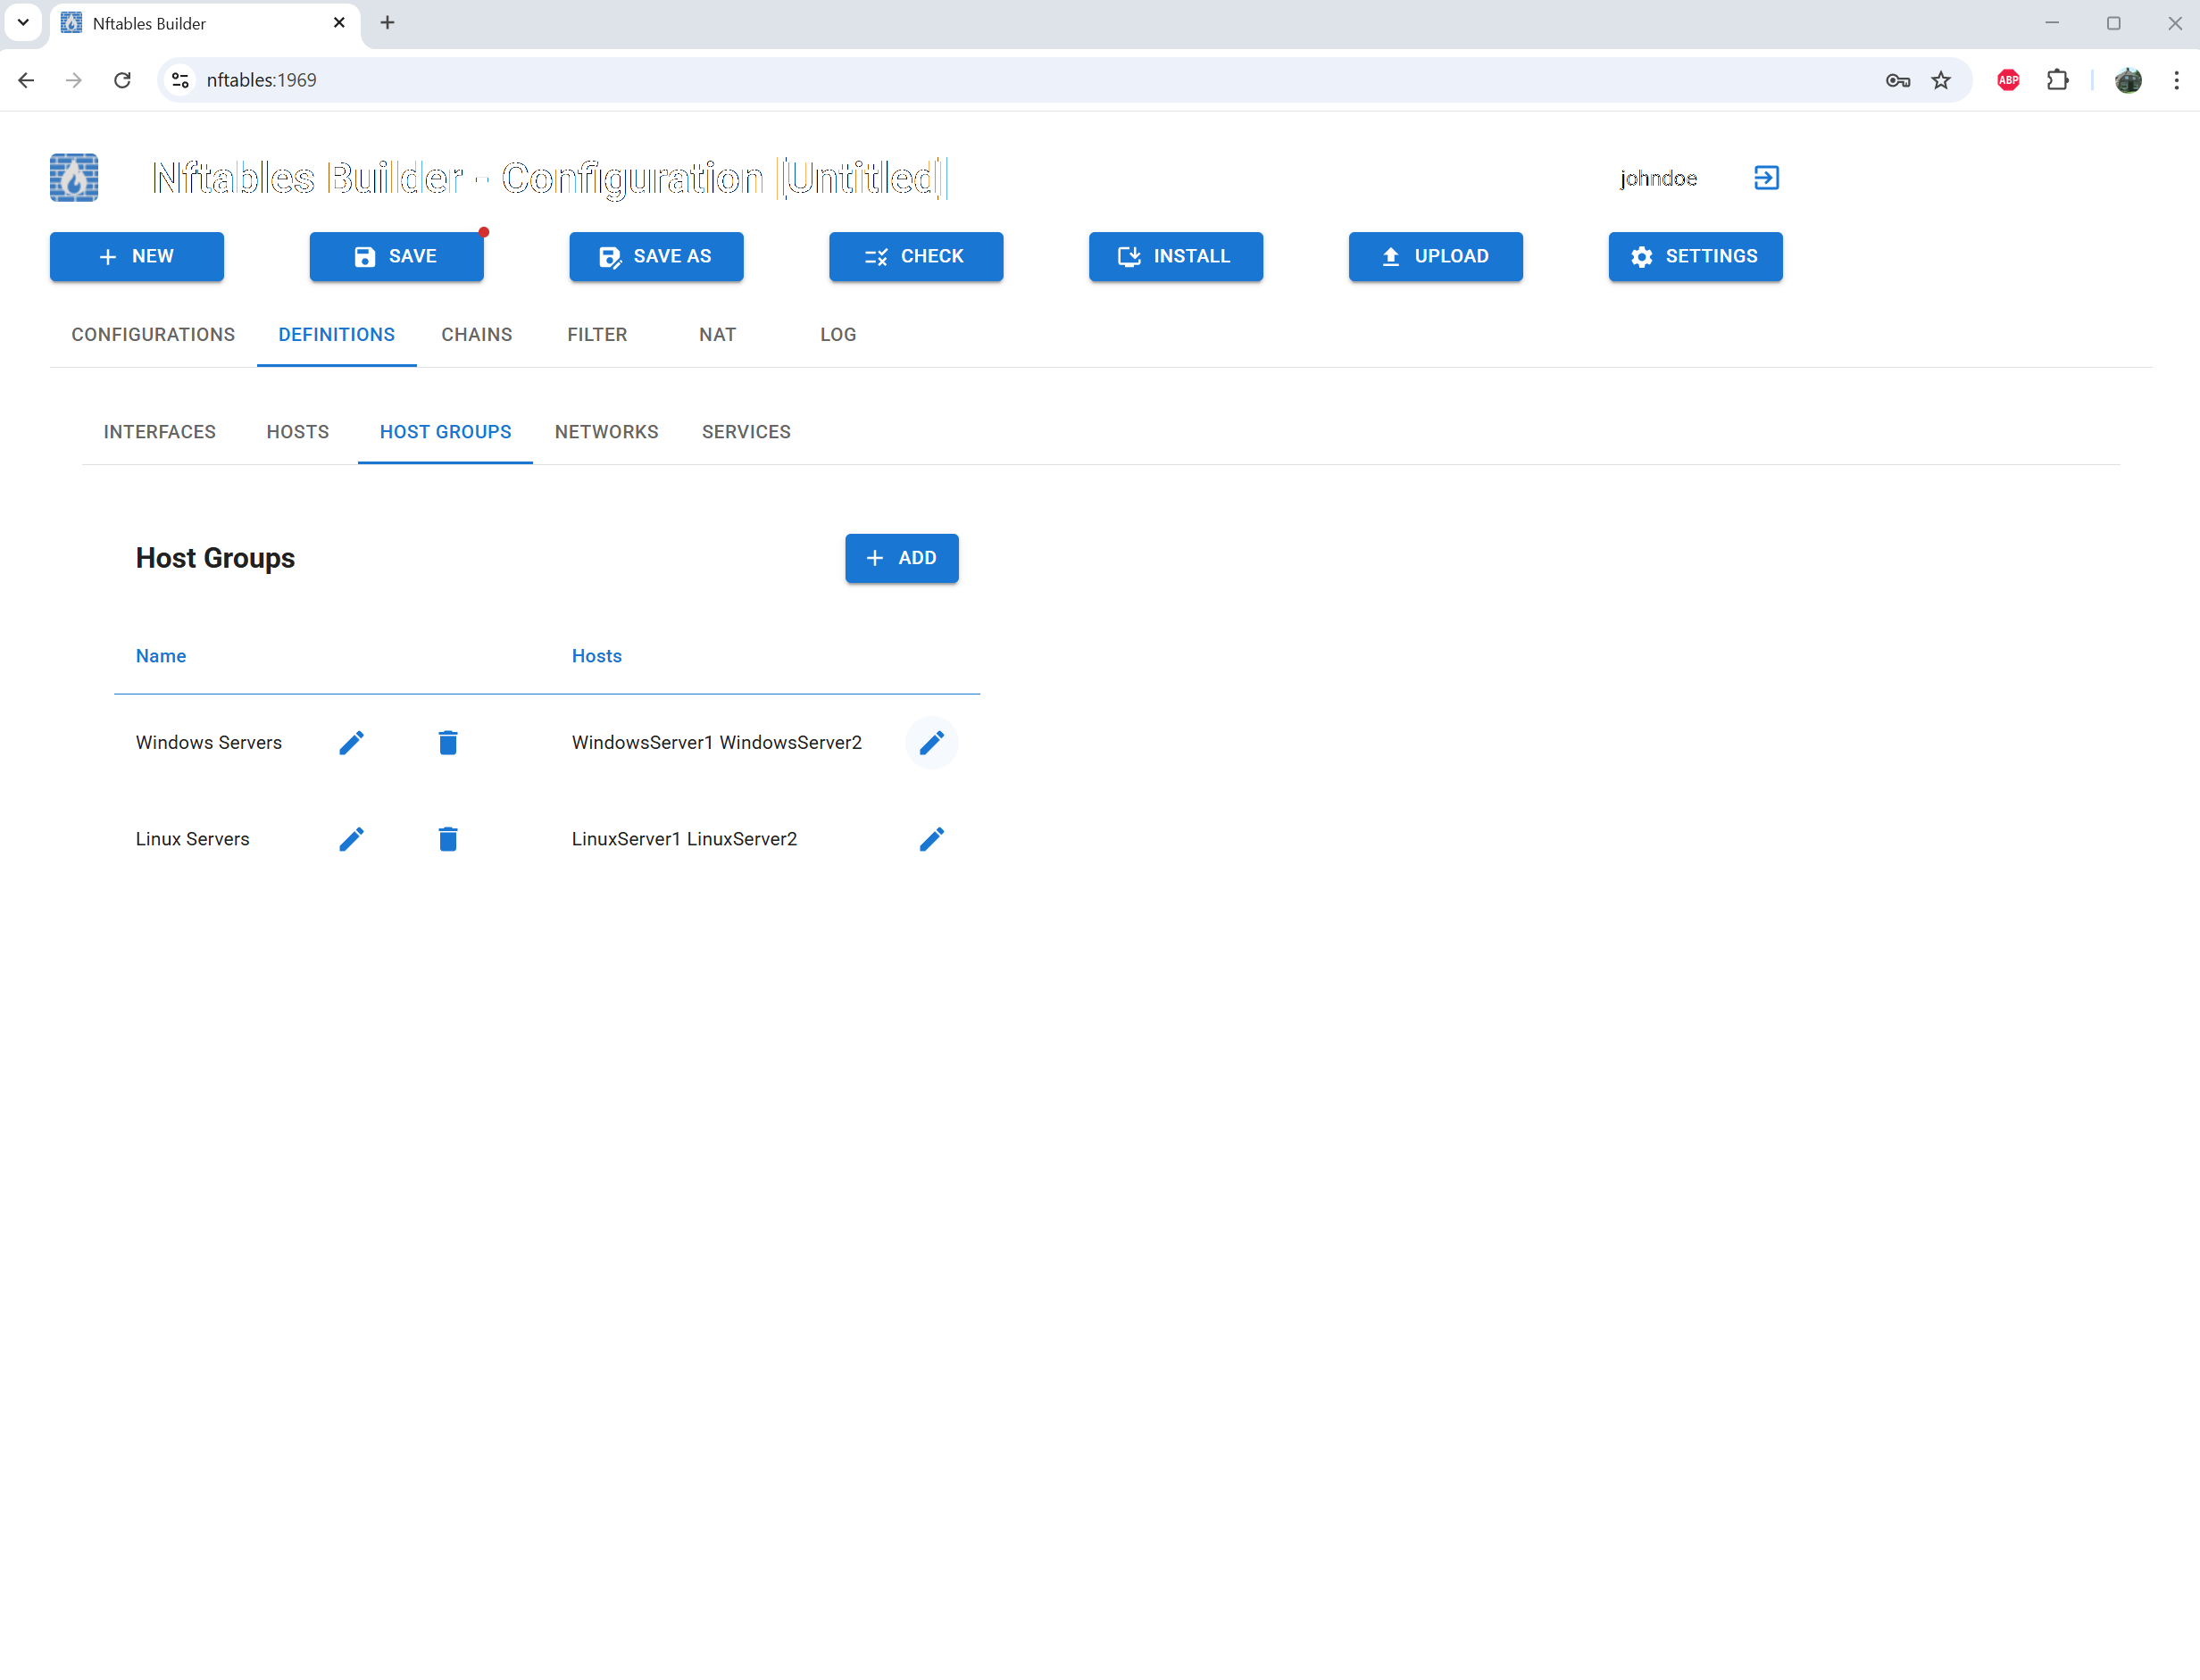
Define host groups

Define networks
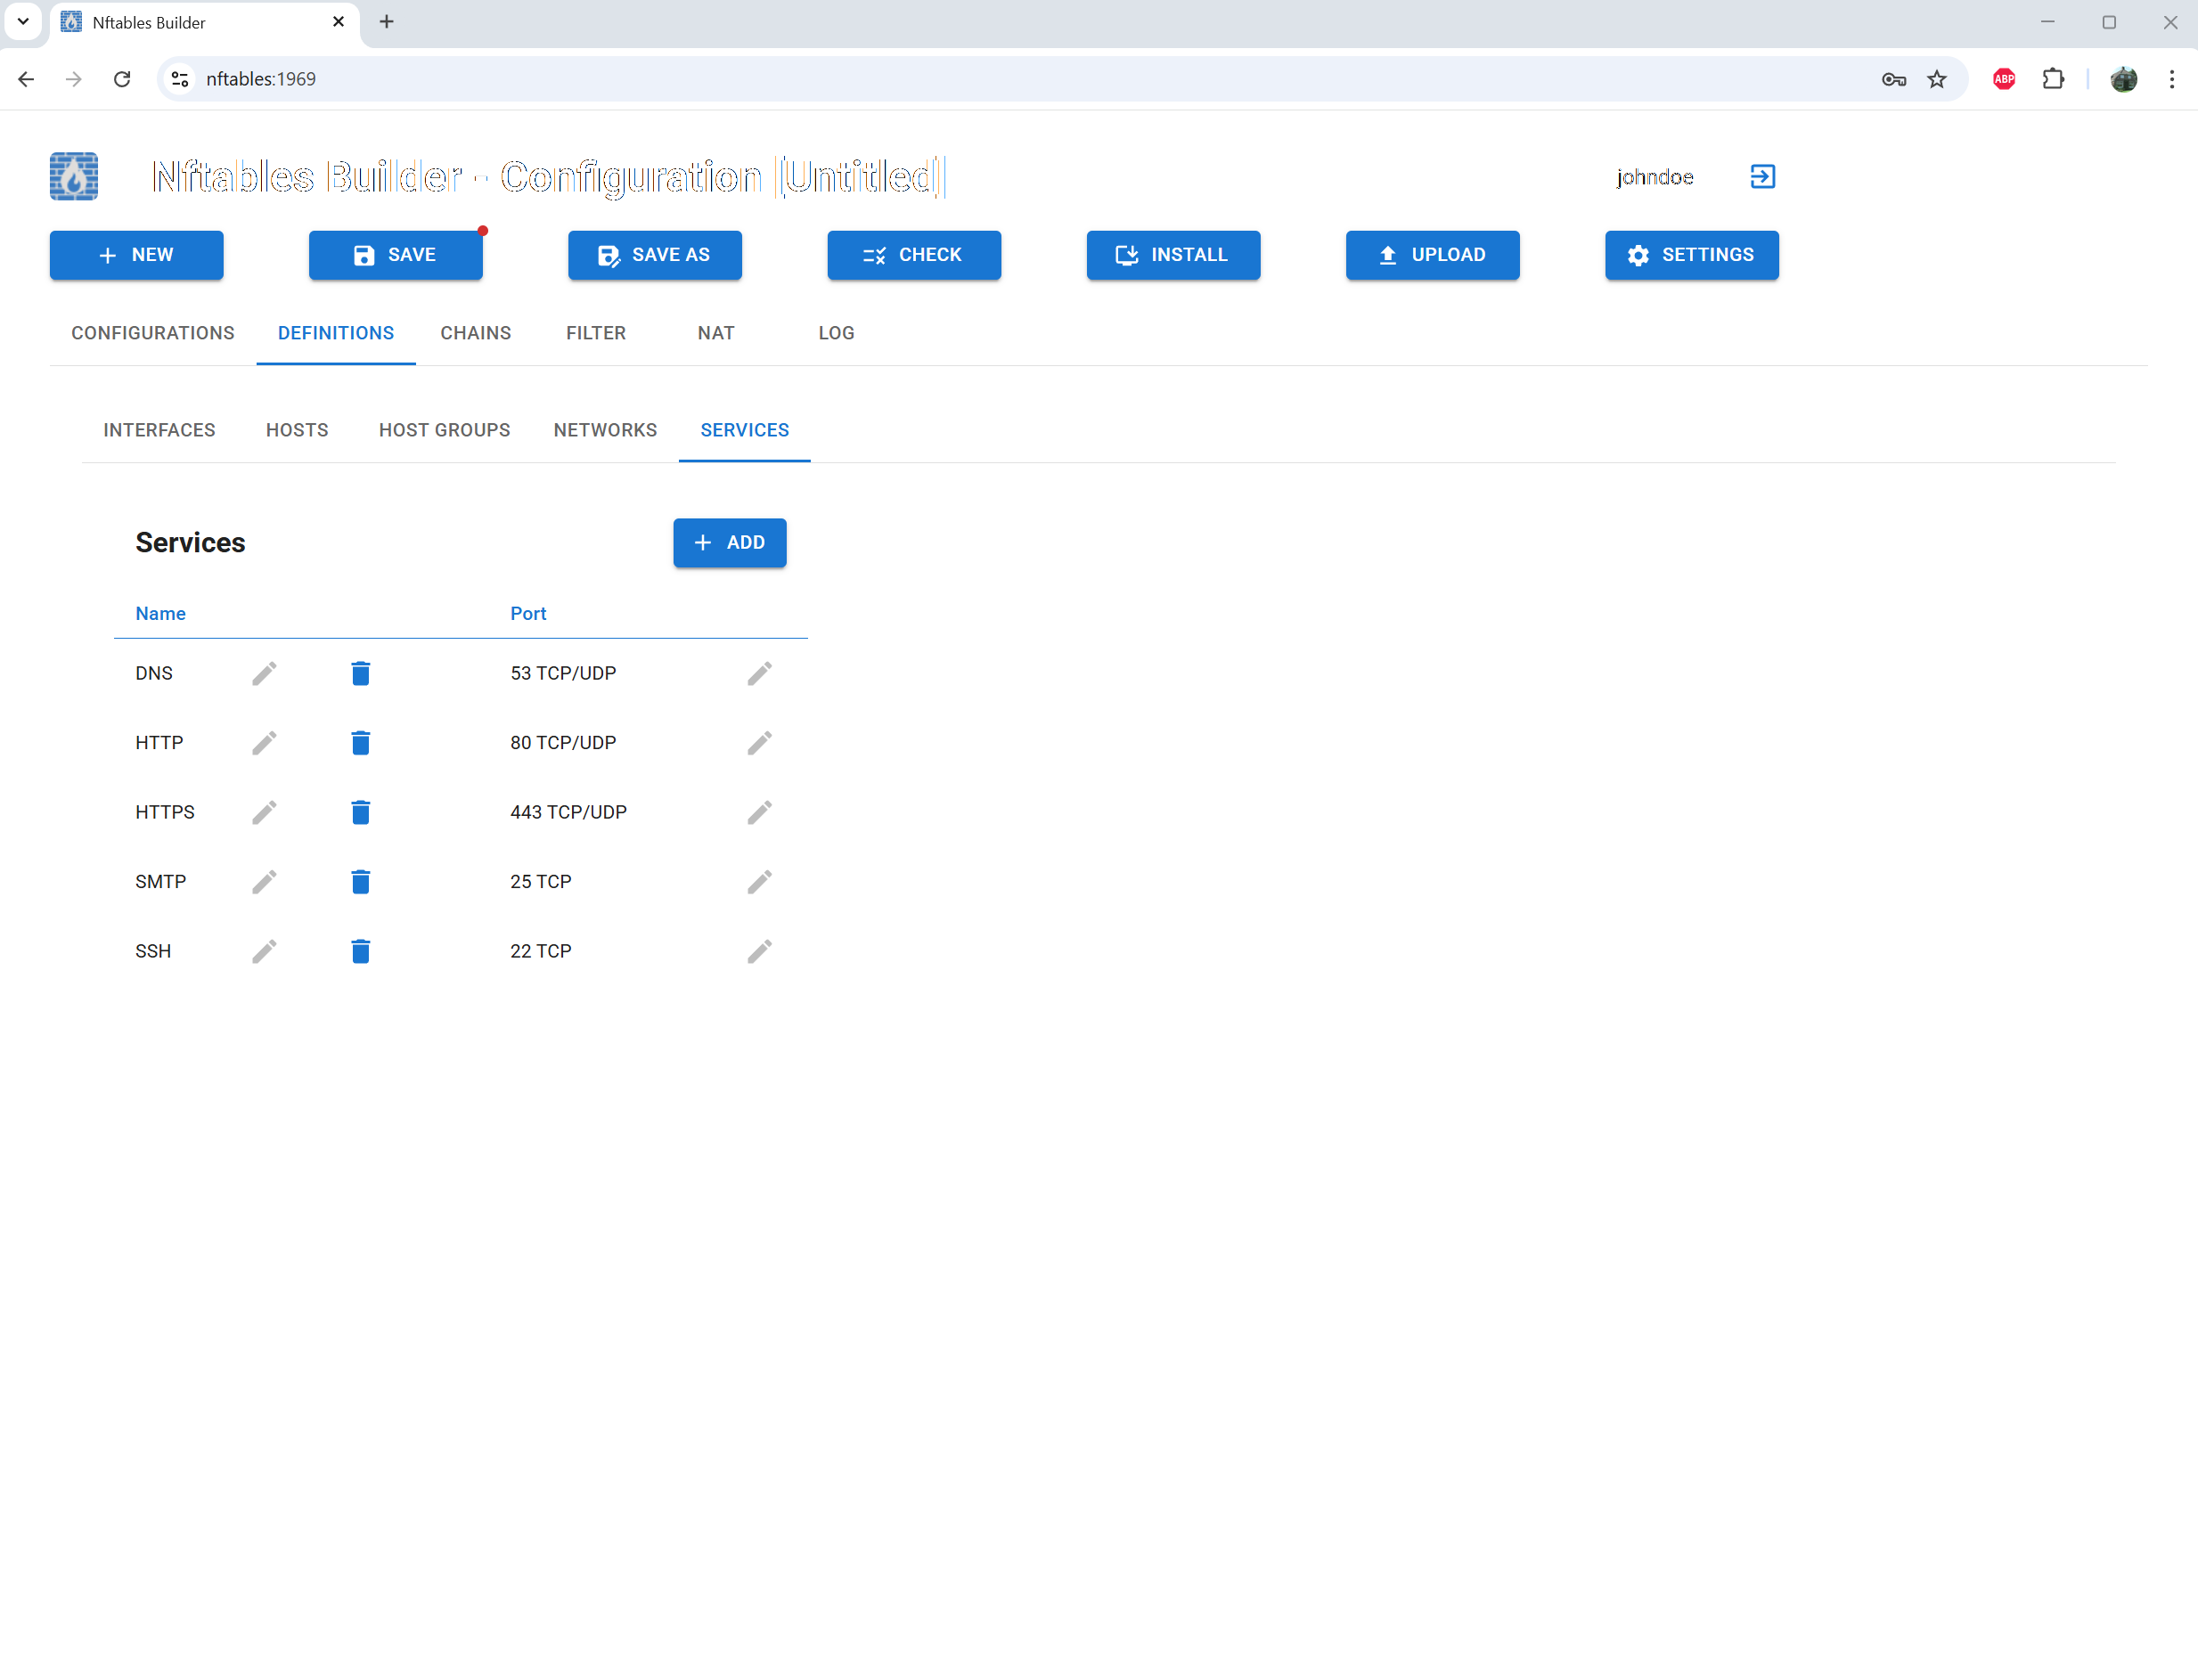
Define services
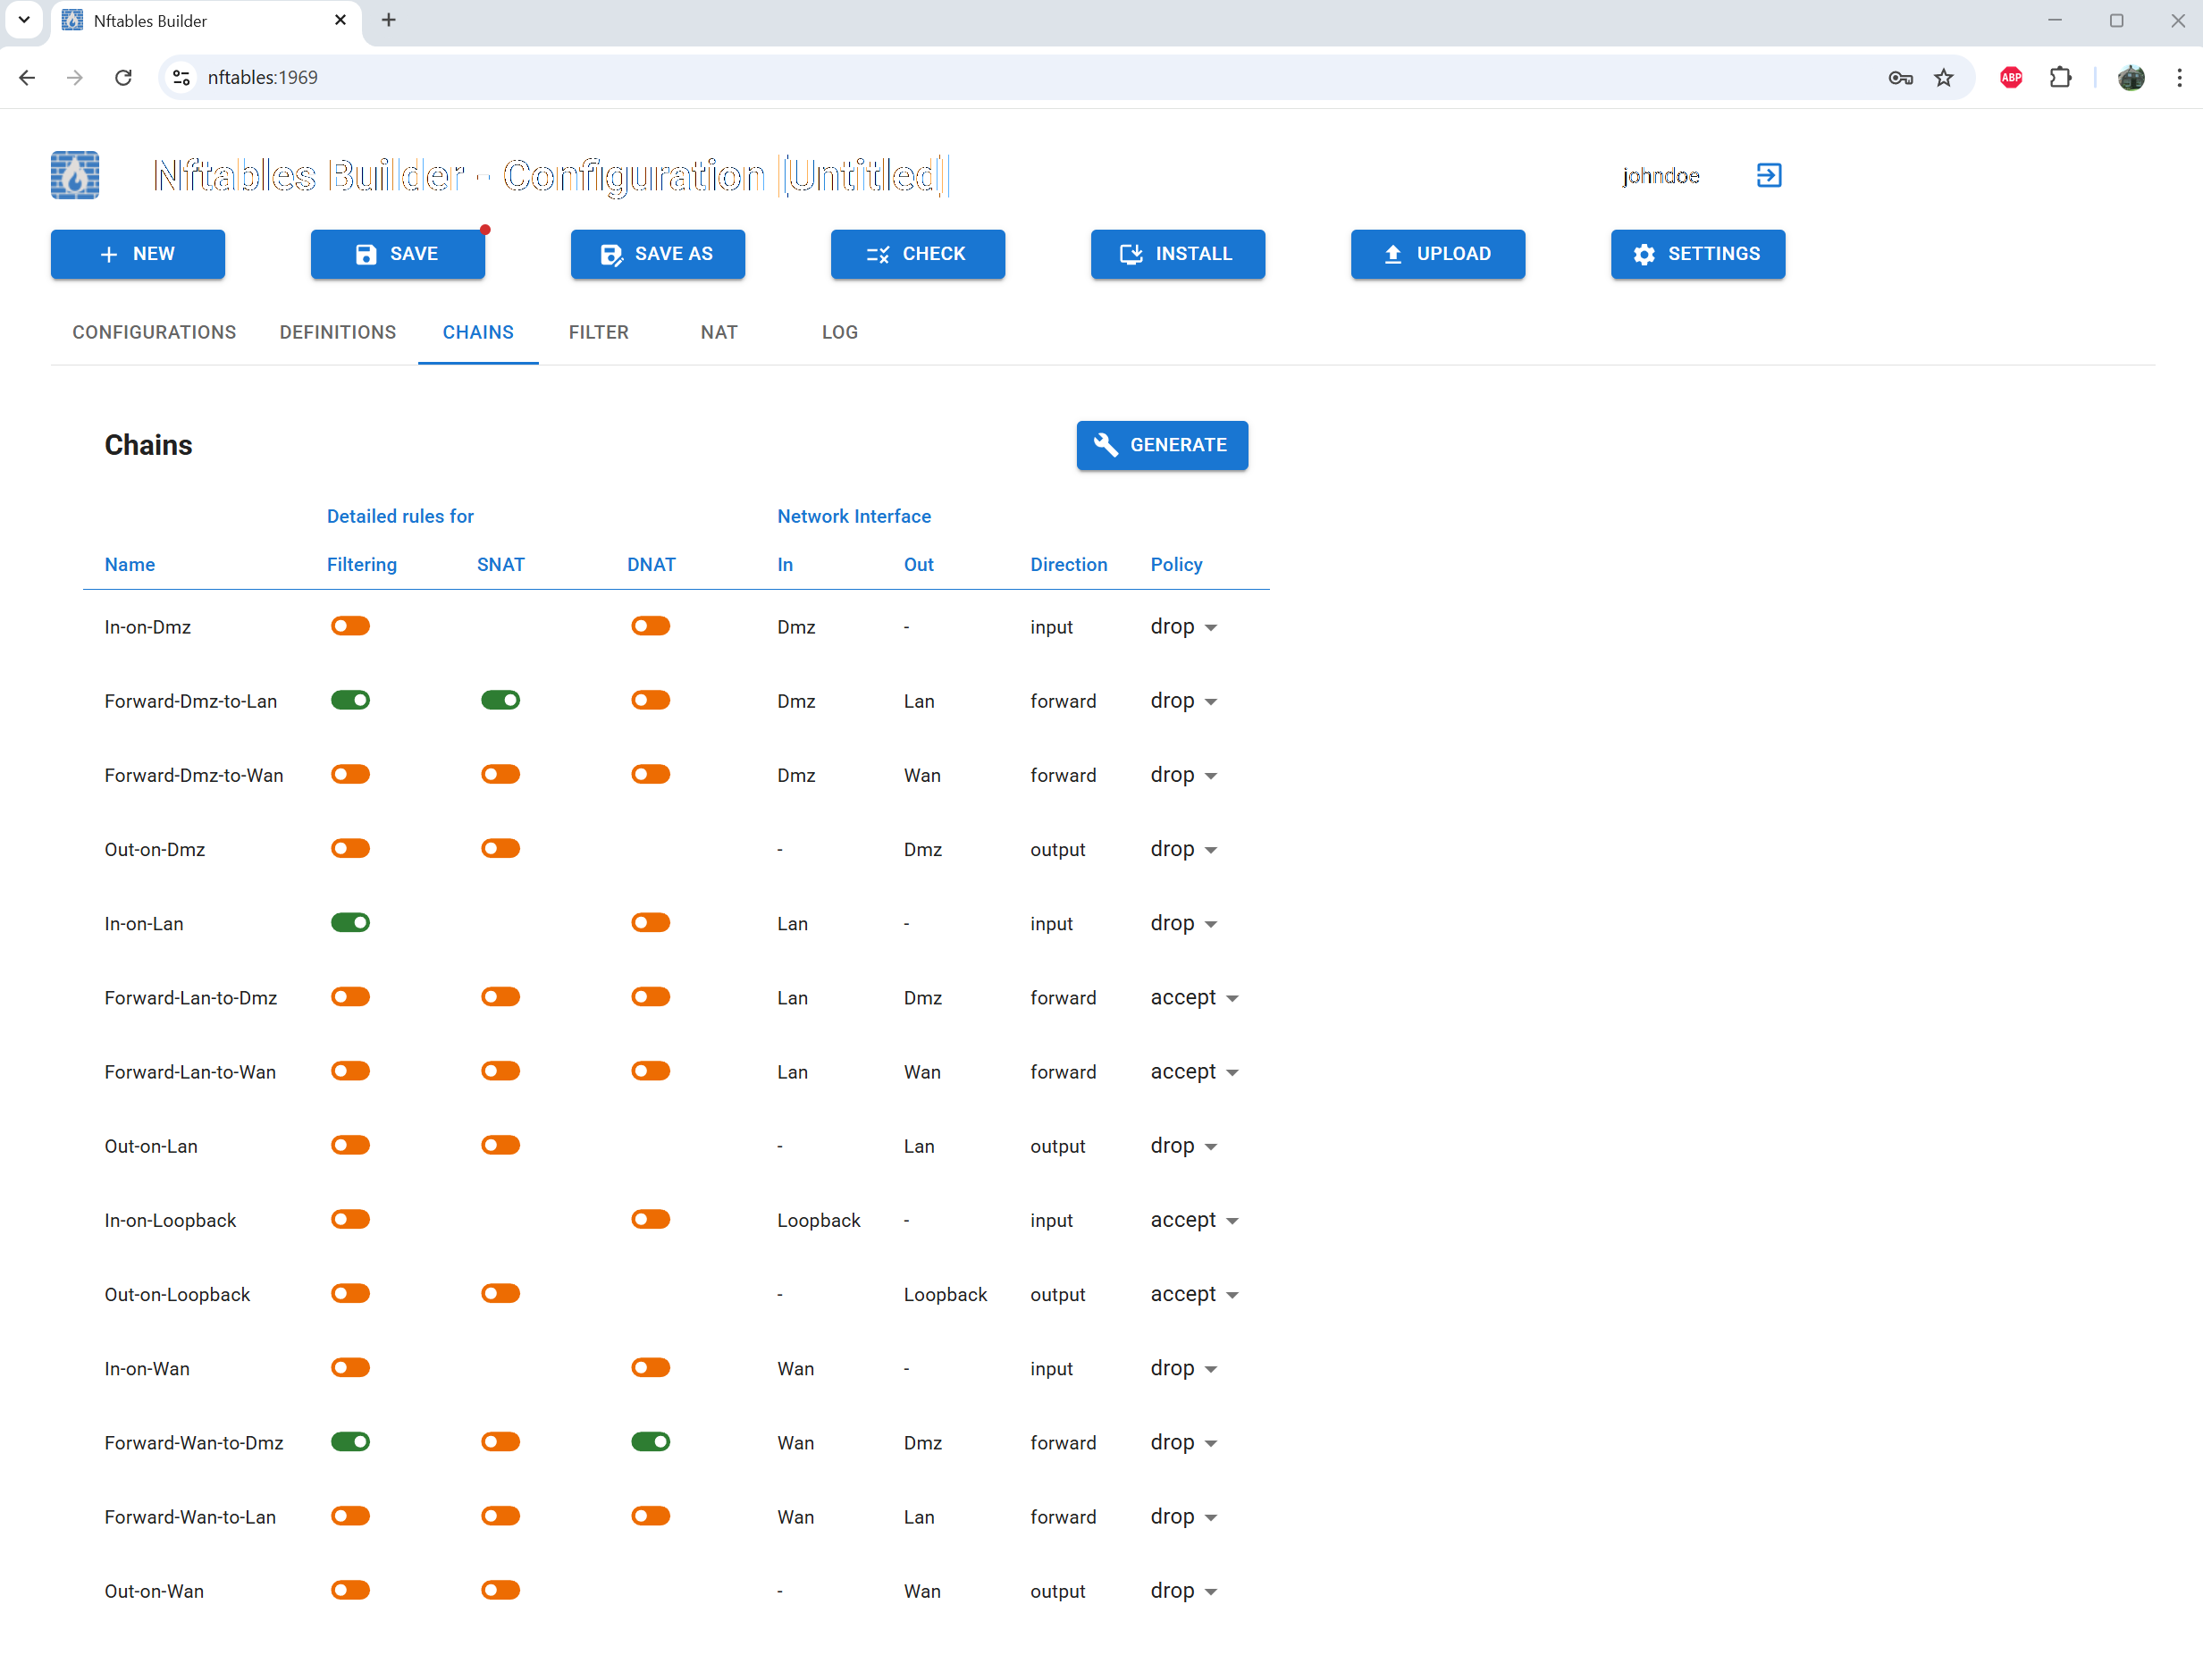
Generate chains, define a default policy and specify where extra rules are needed

Manage default rules
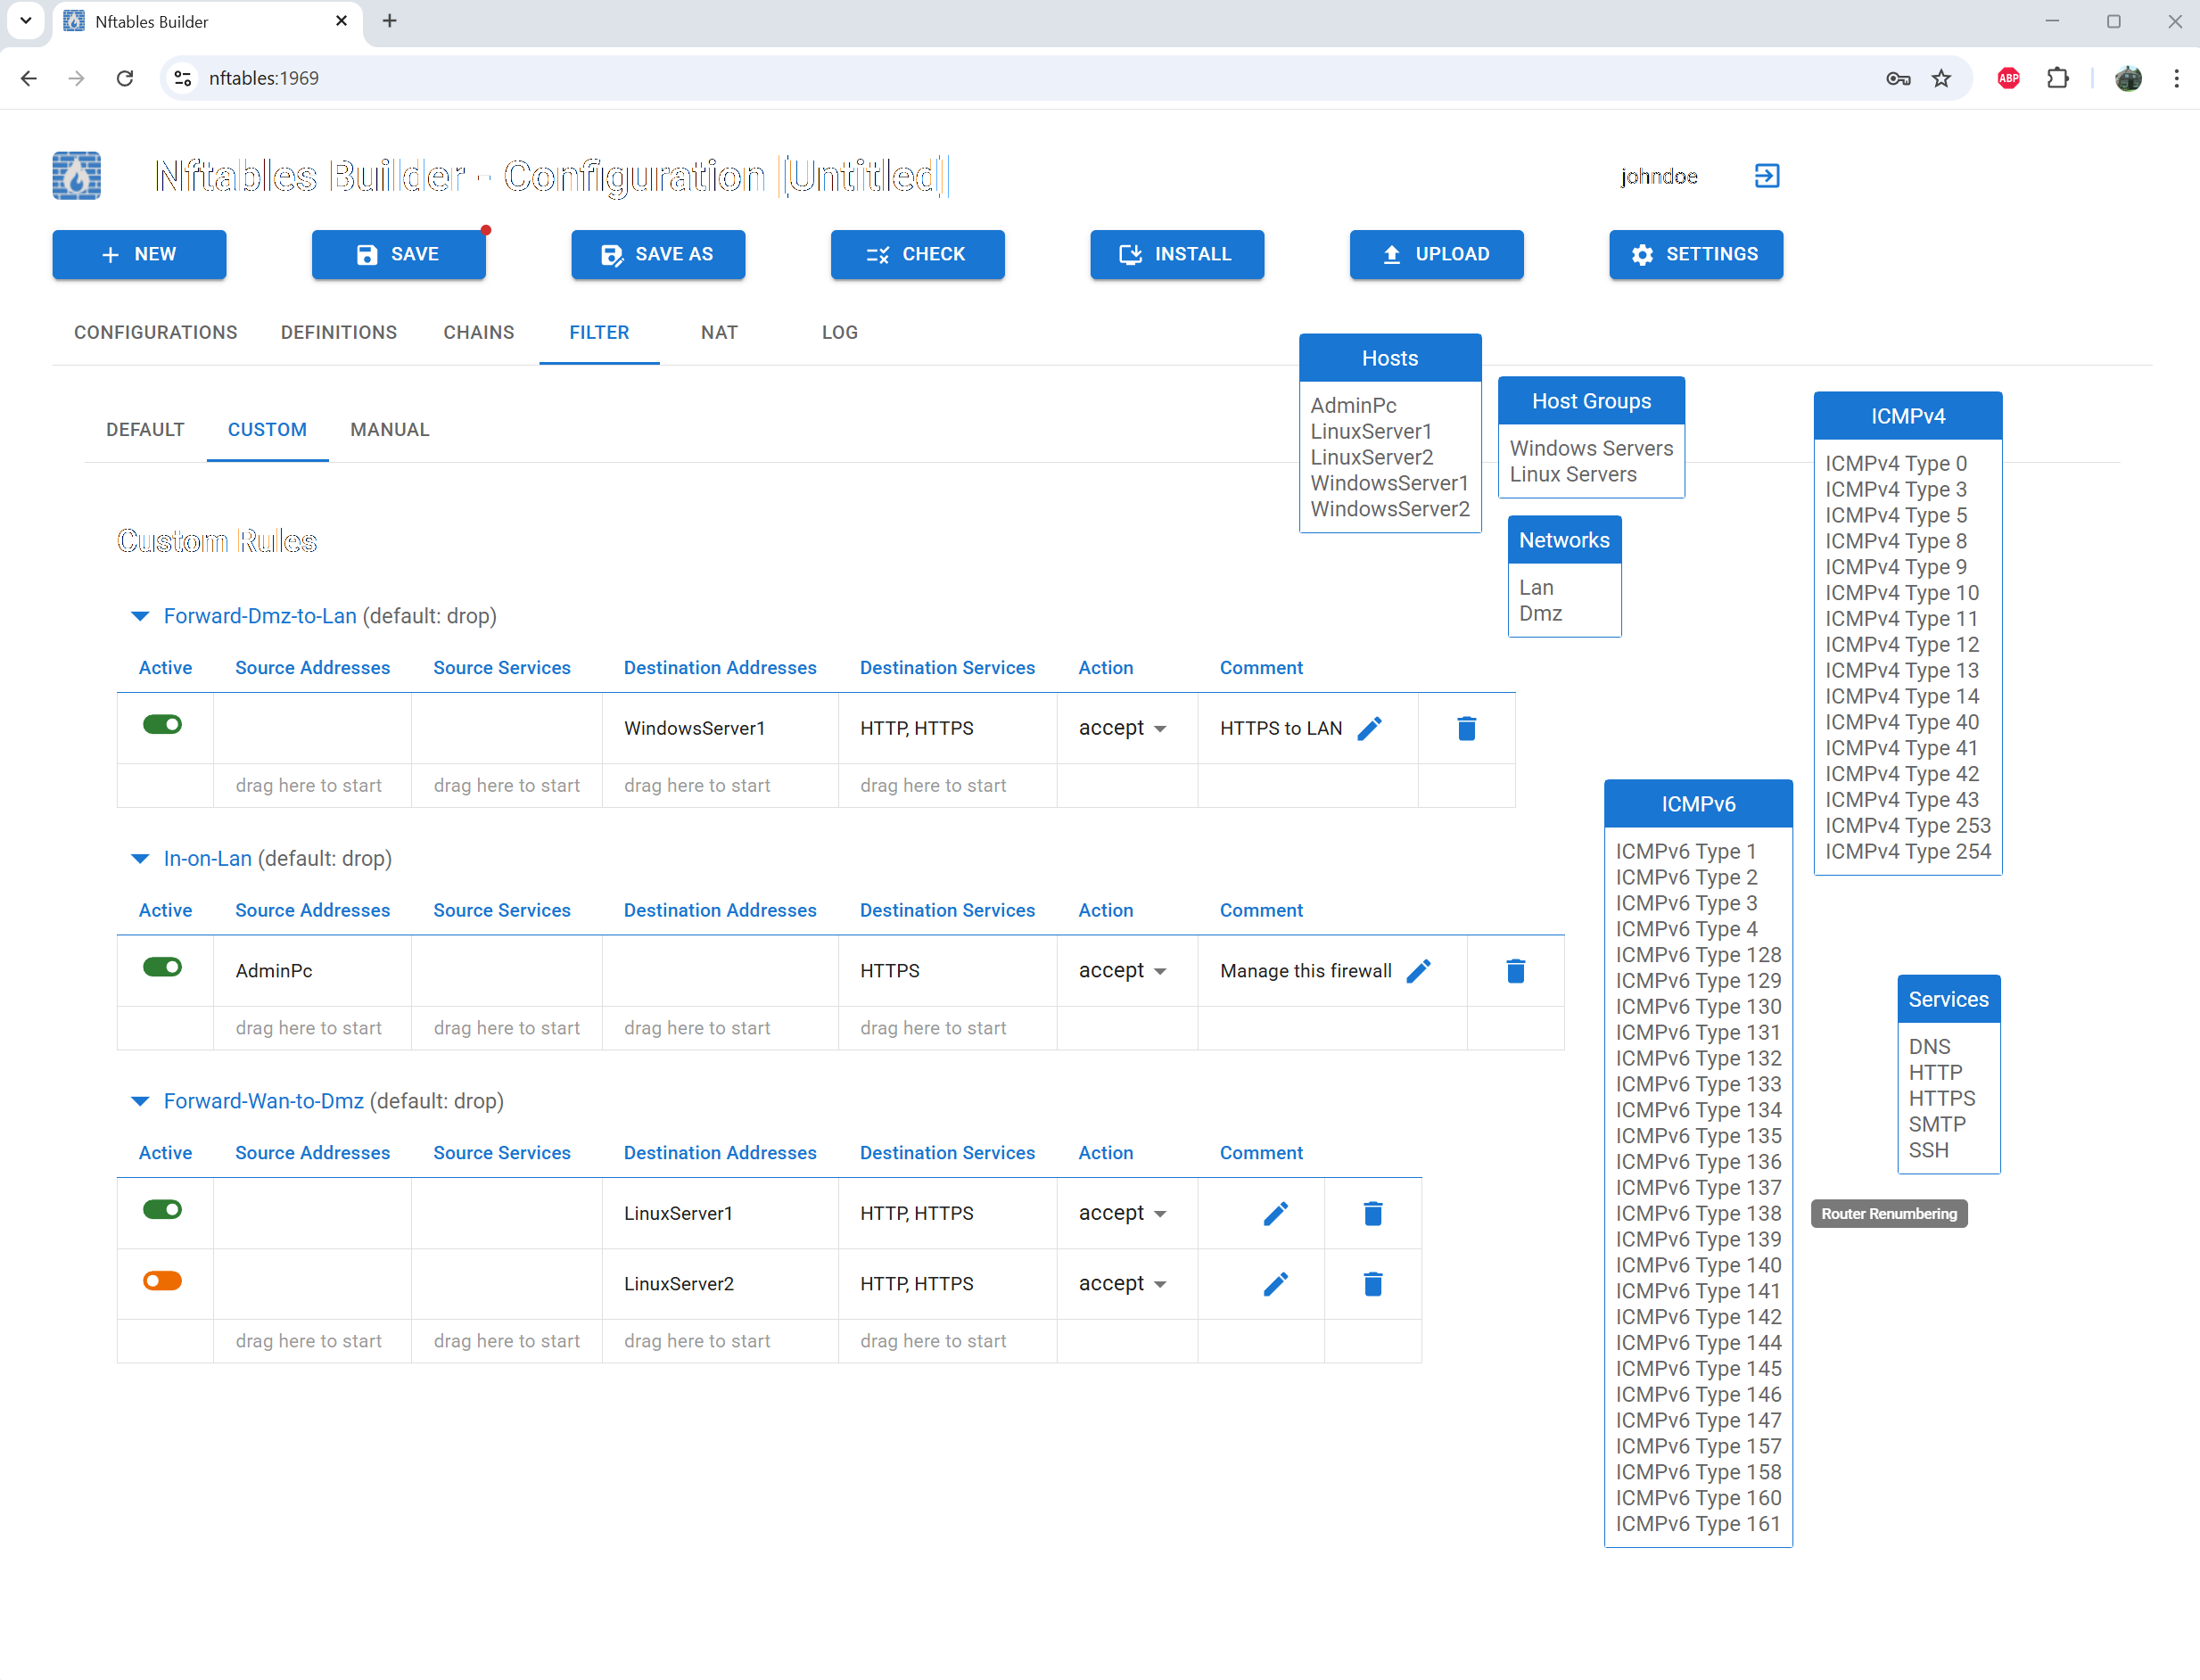
Create new filter rules using drag-and-drop
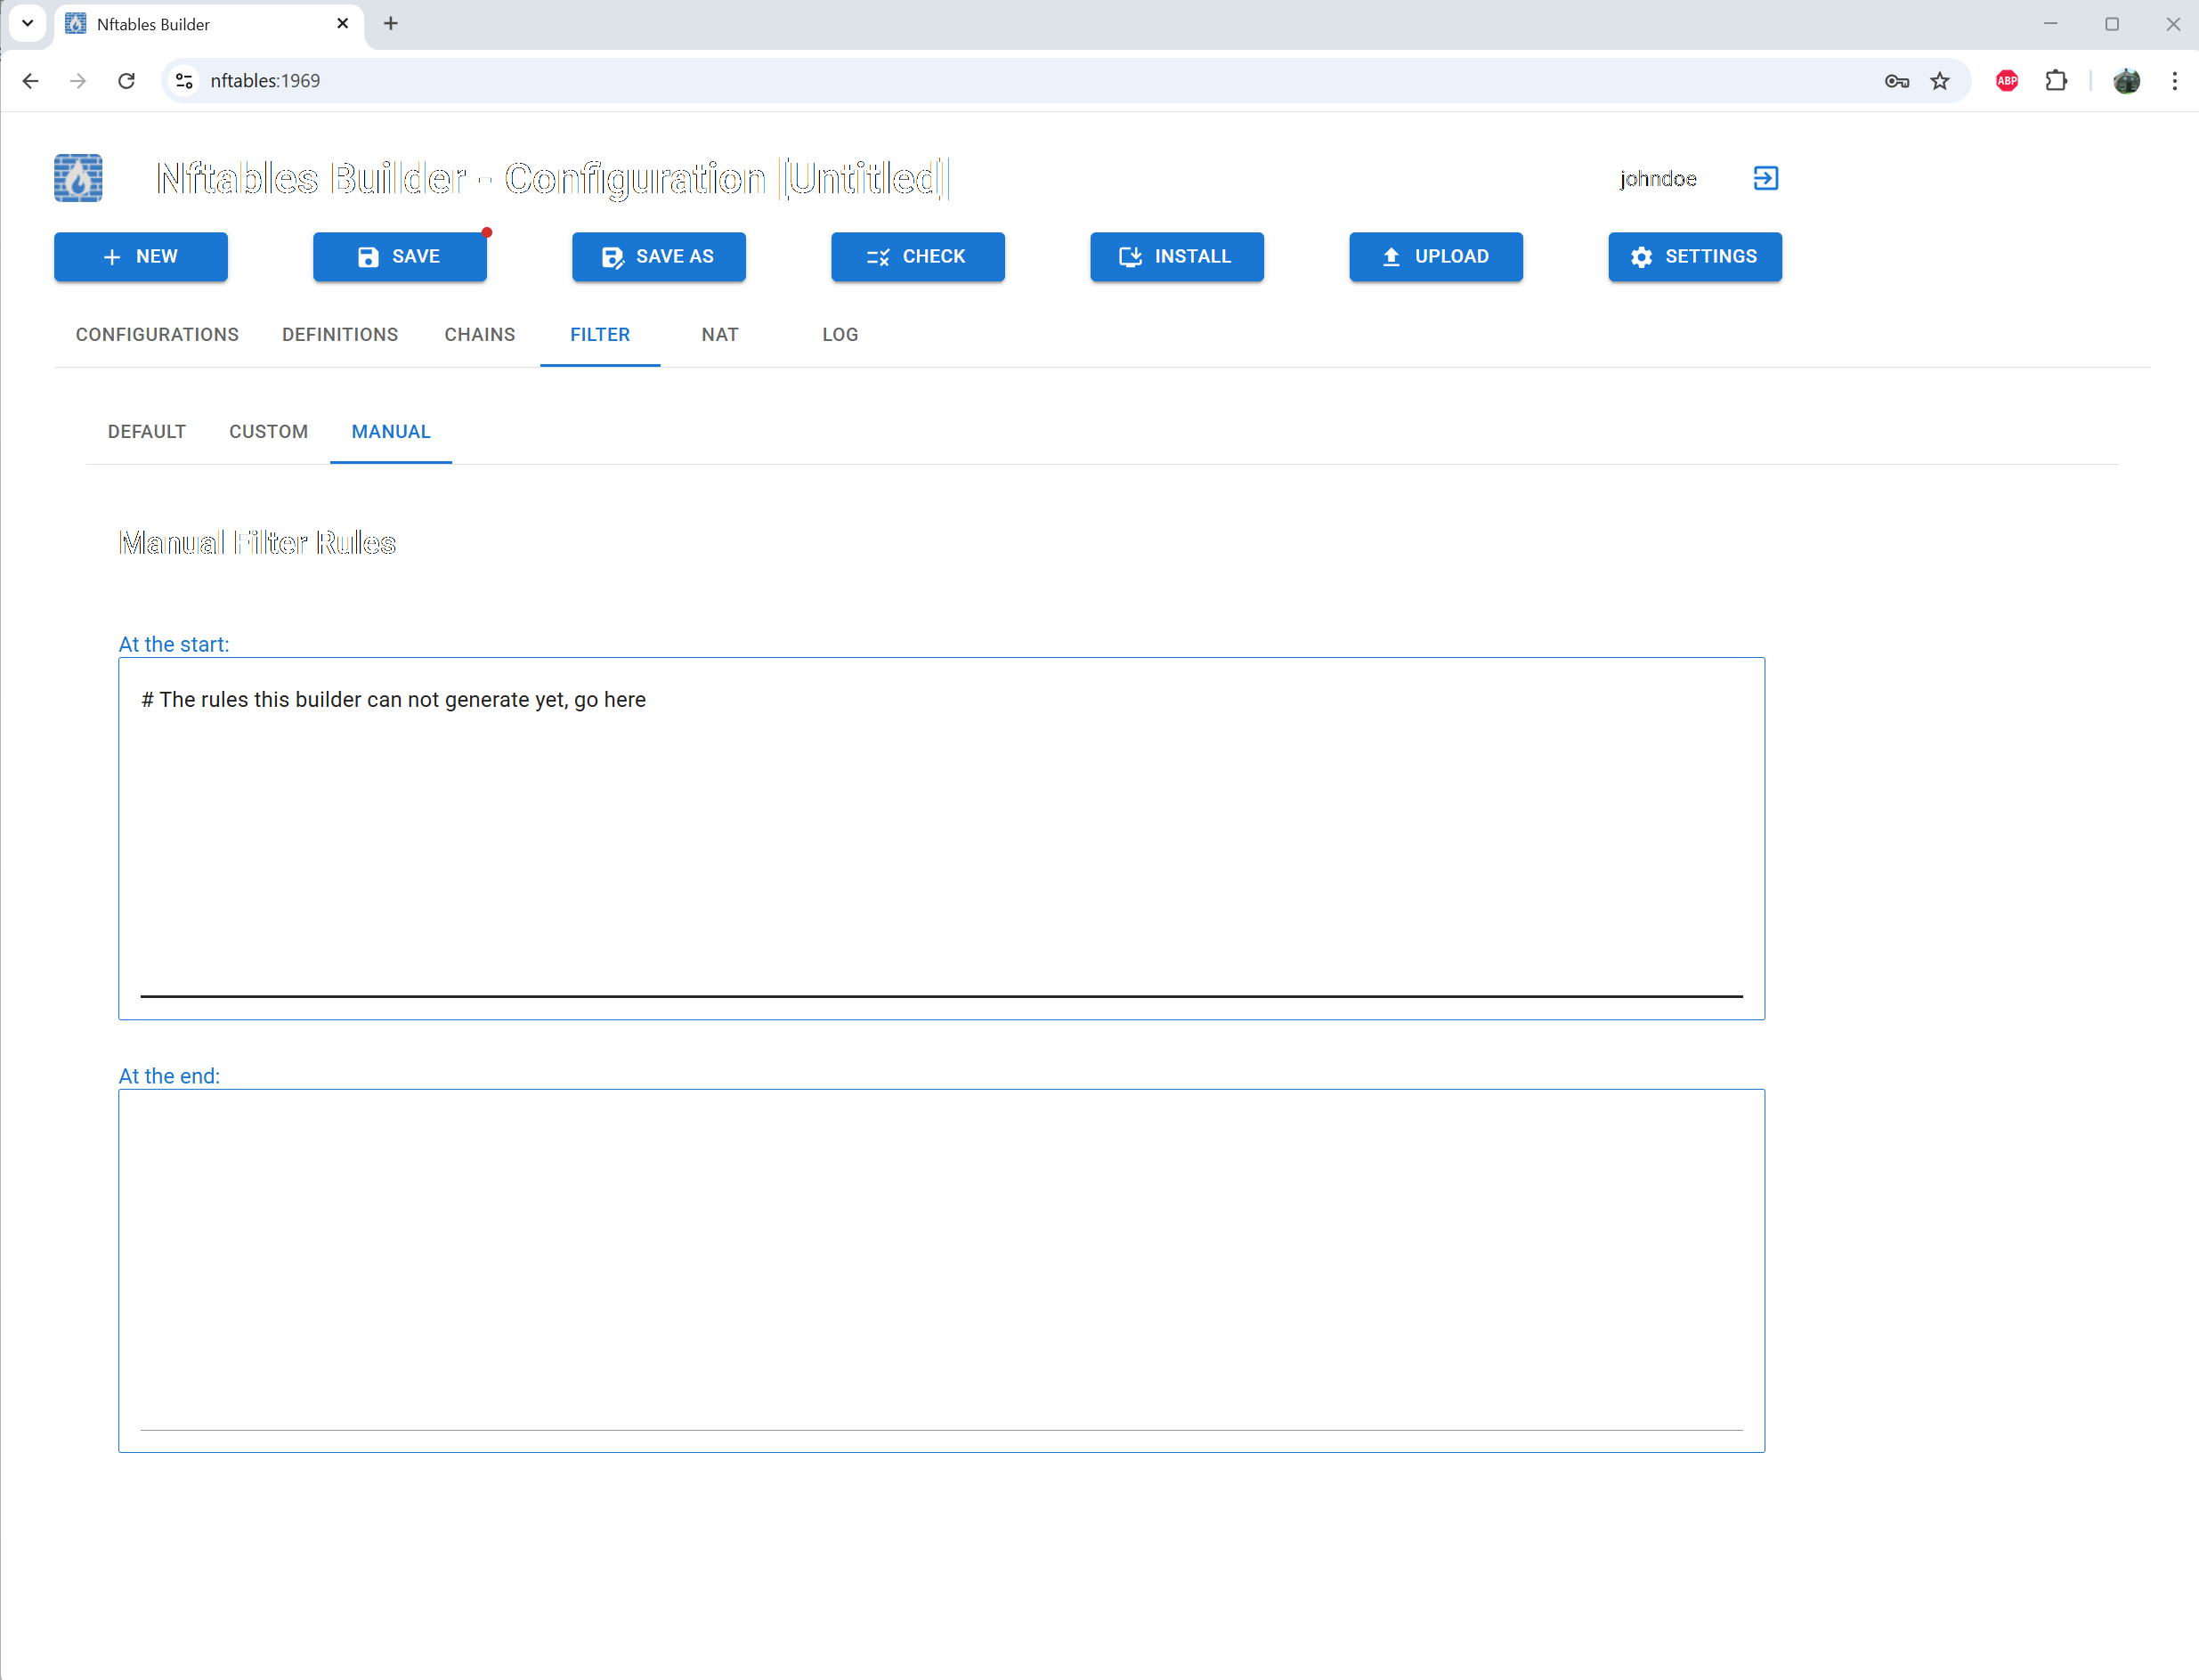
Optionally add manual rules
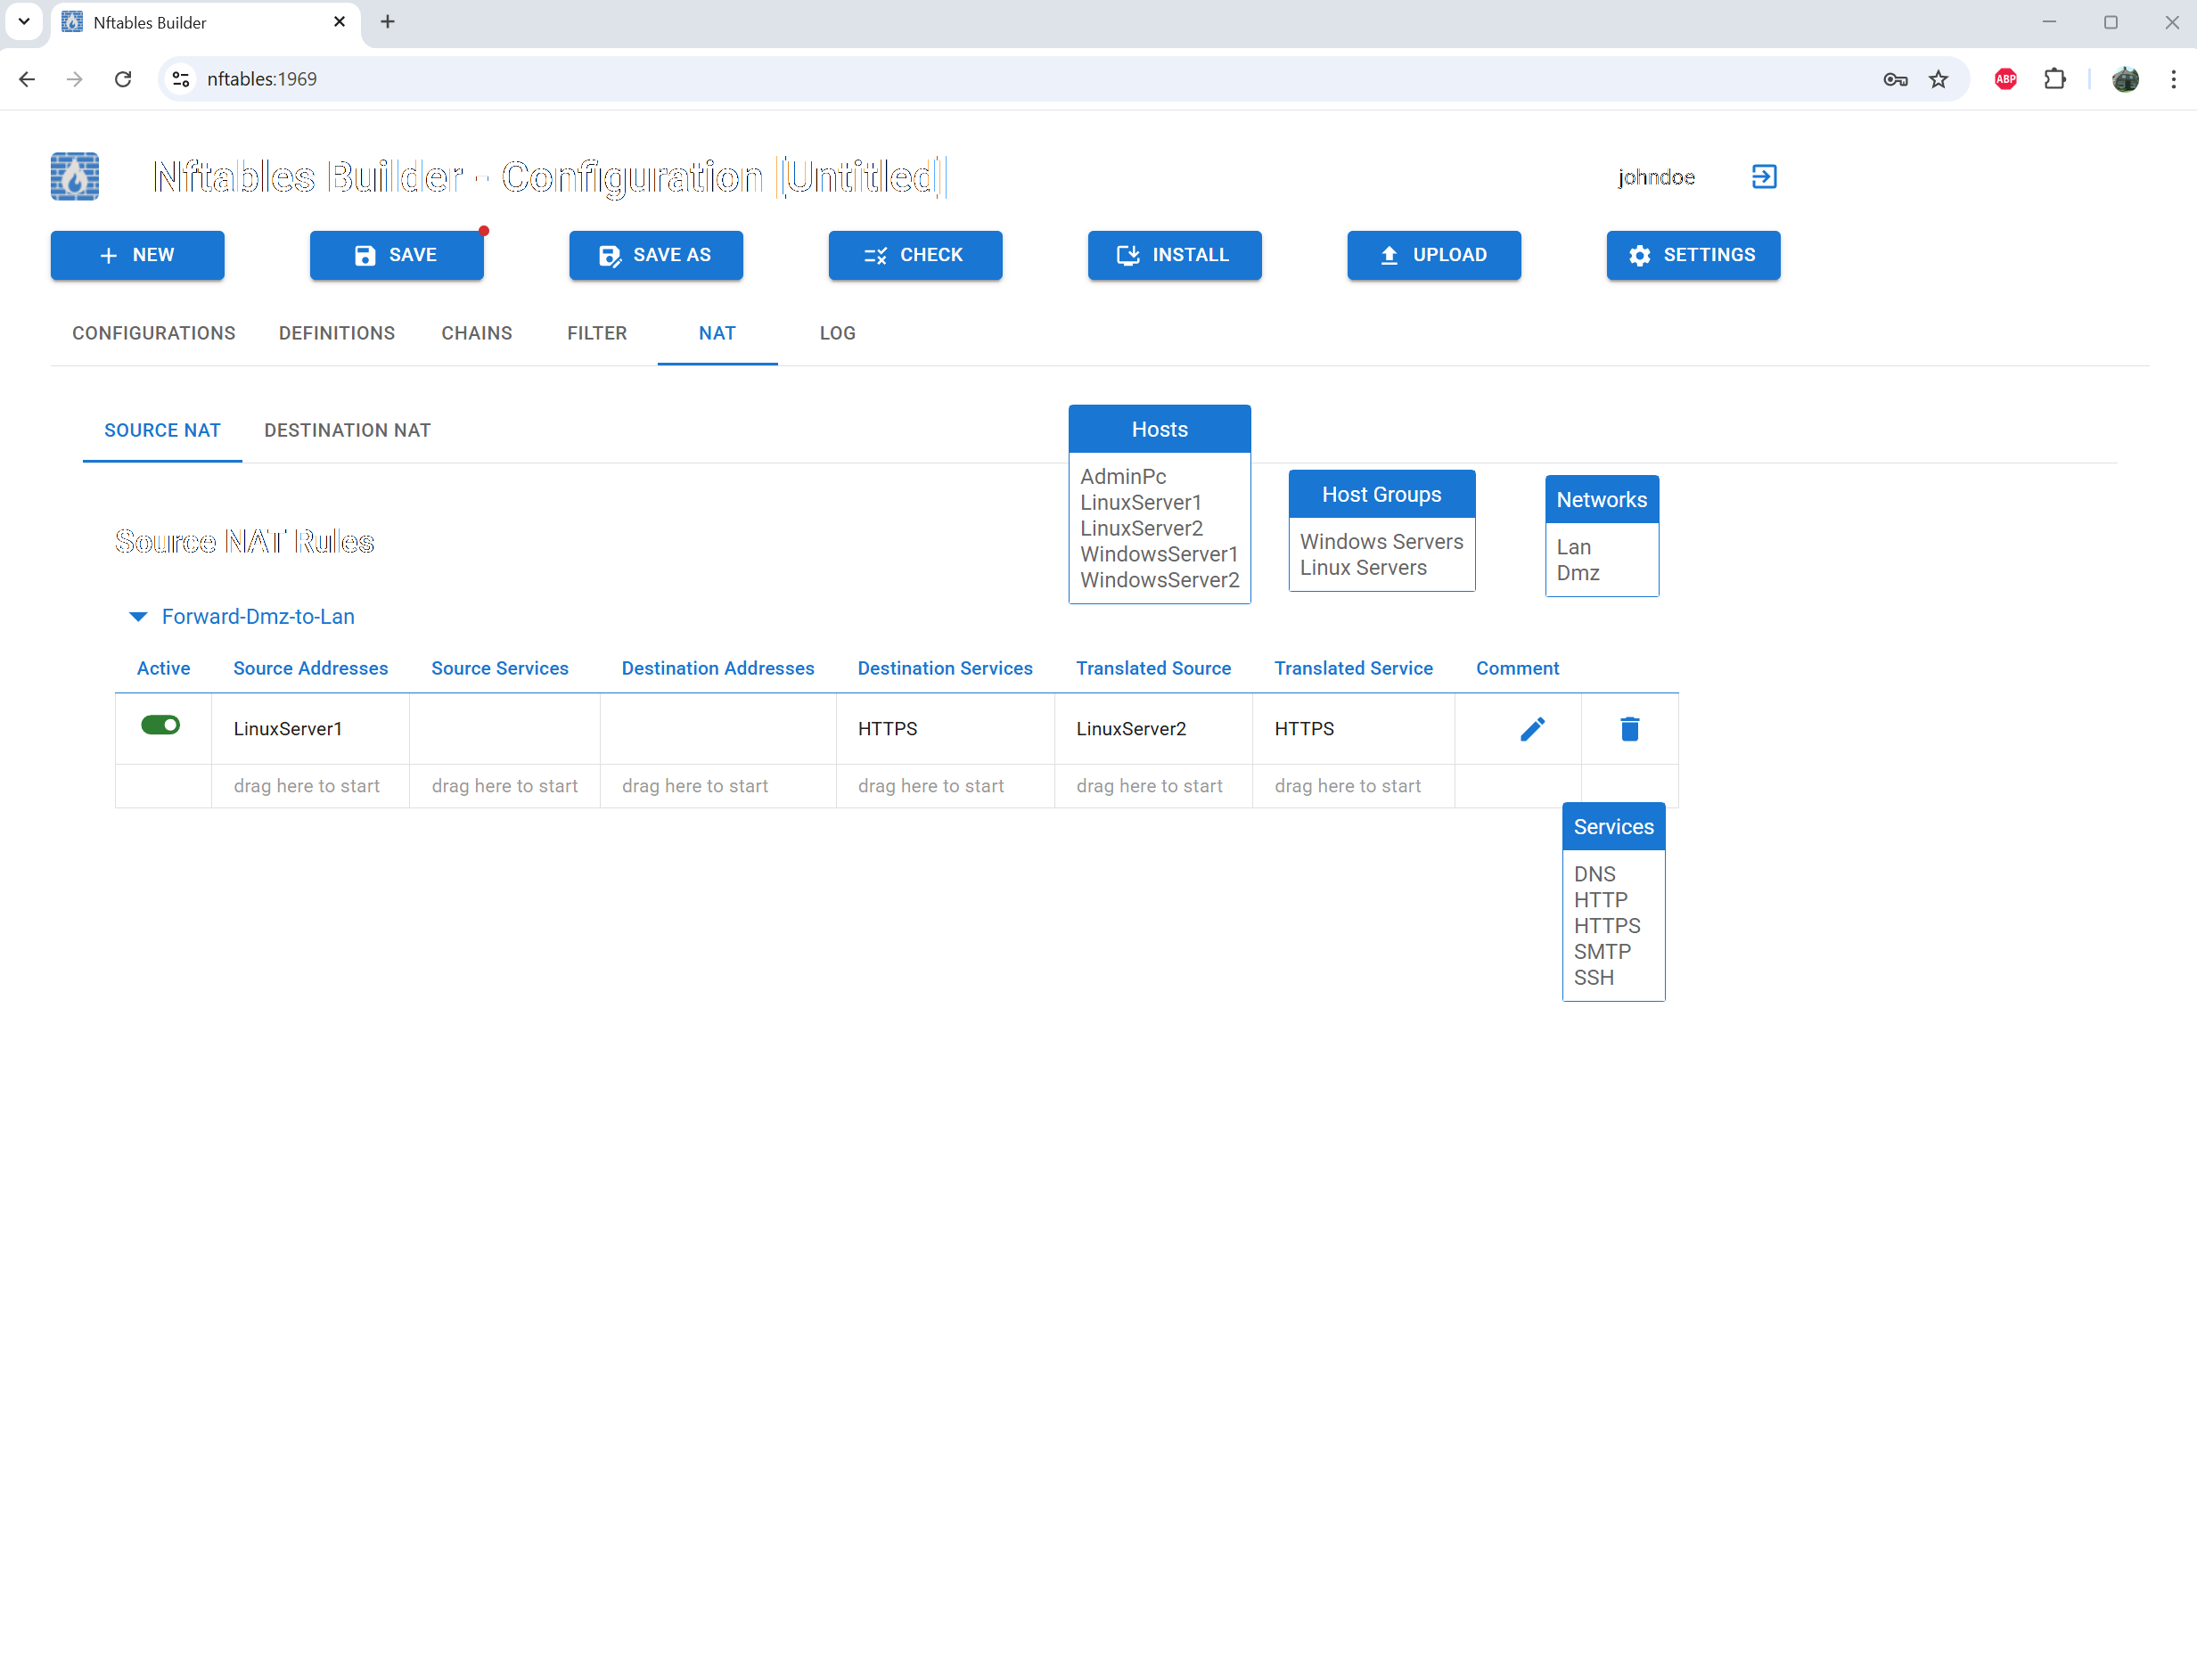
Create nat rules using drag-and-drop
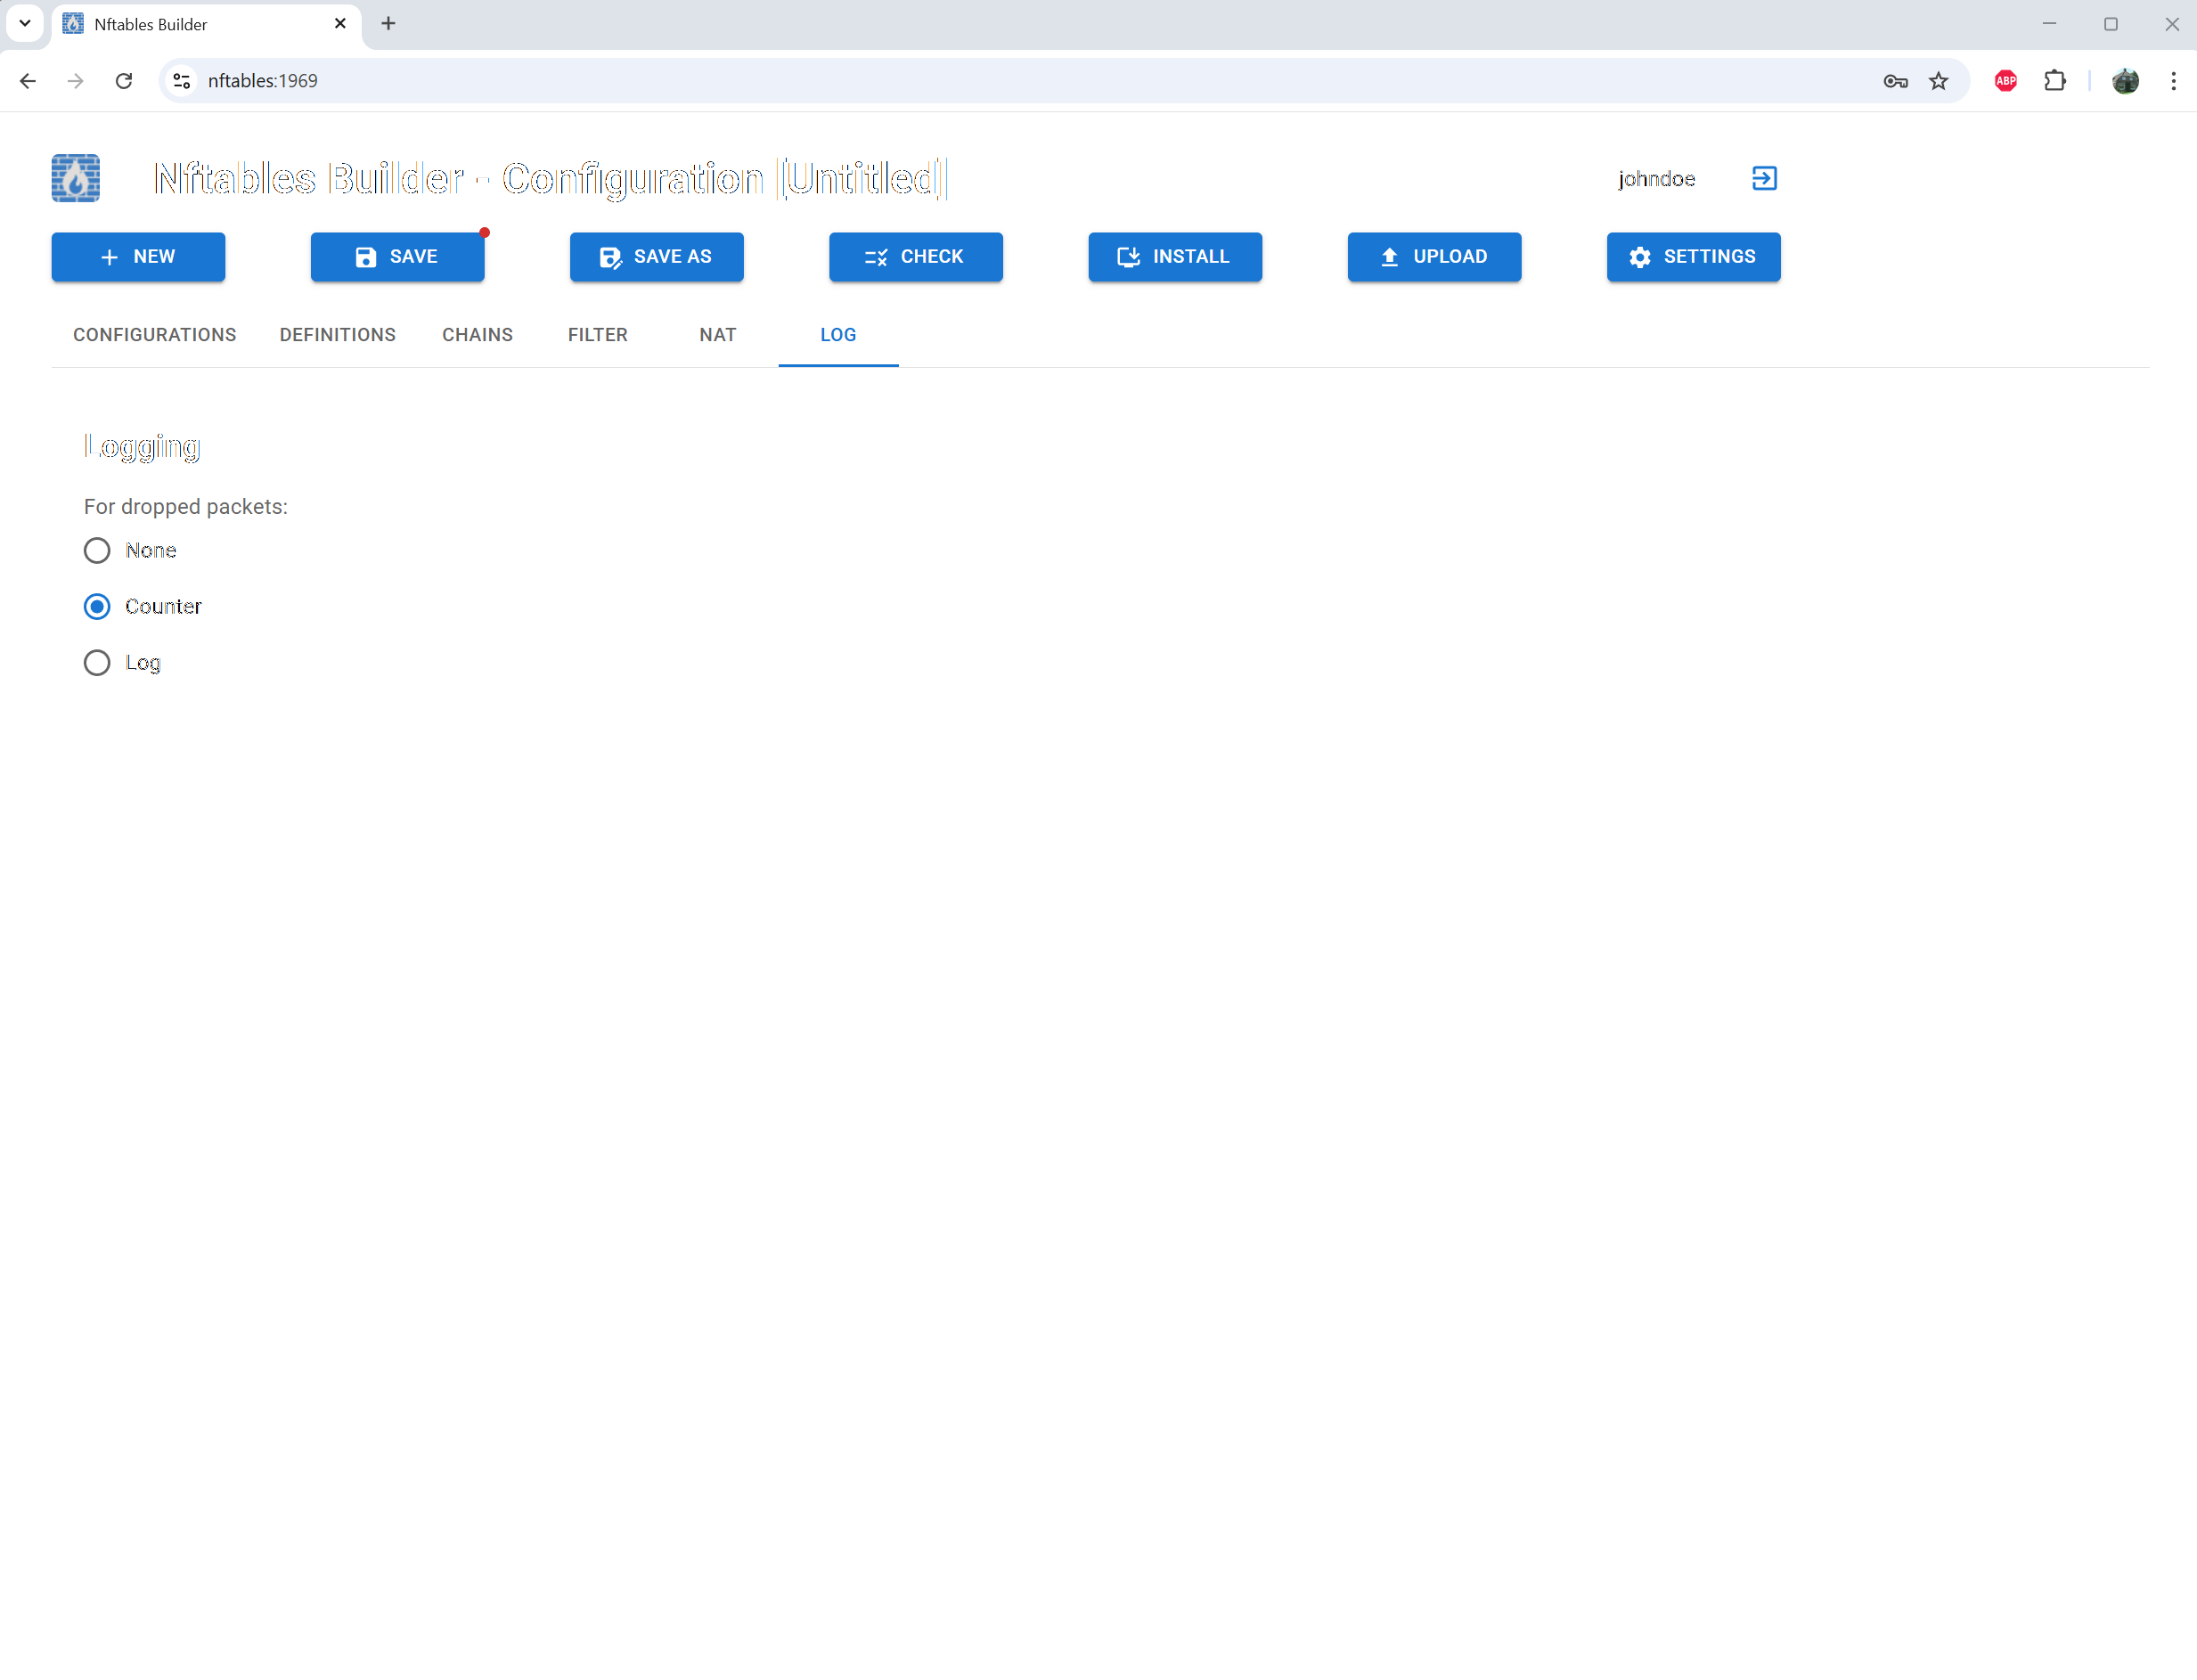
Choose the type of logging

Check the consistency of the rules
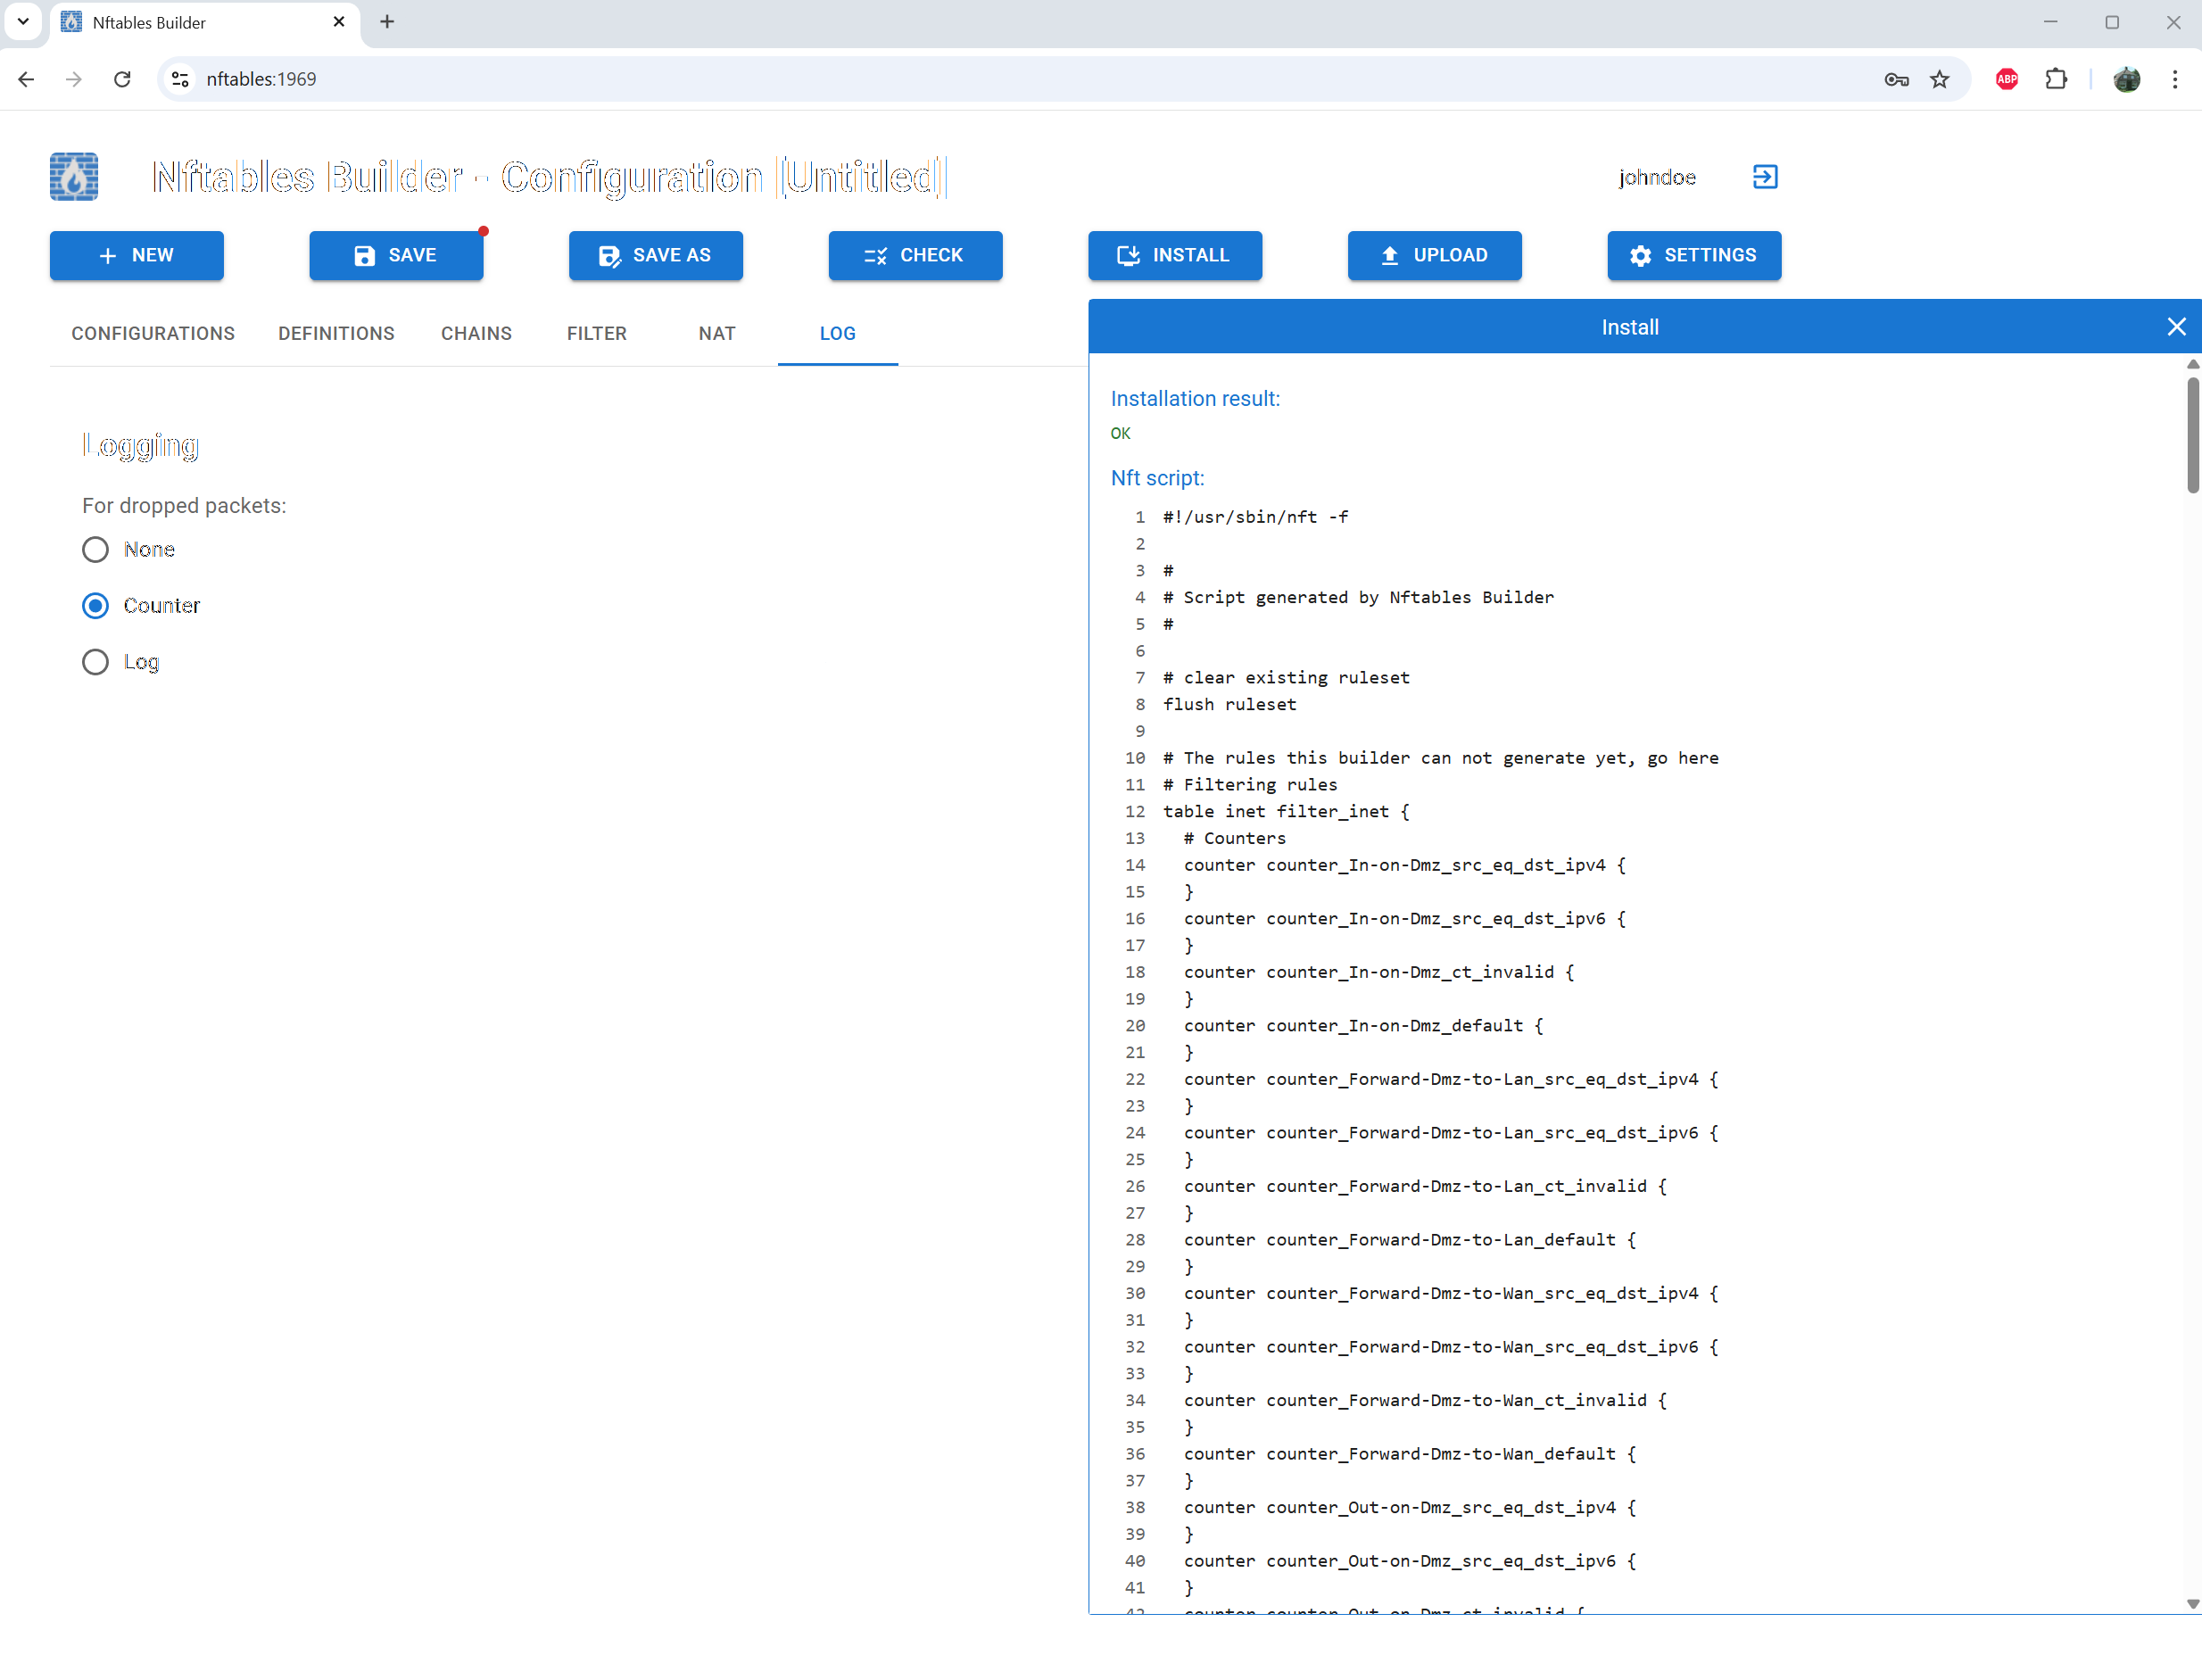
Install the rules and check the result
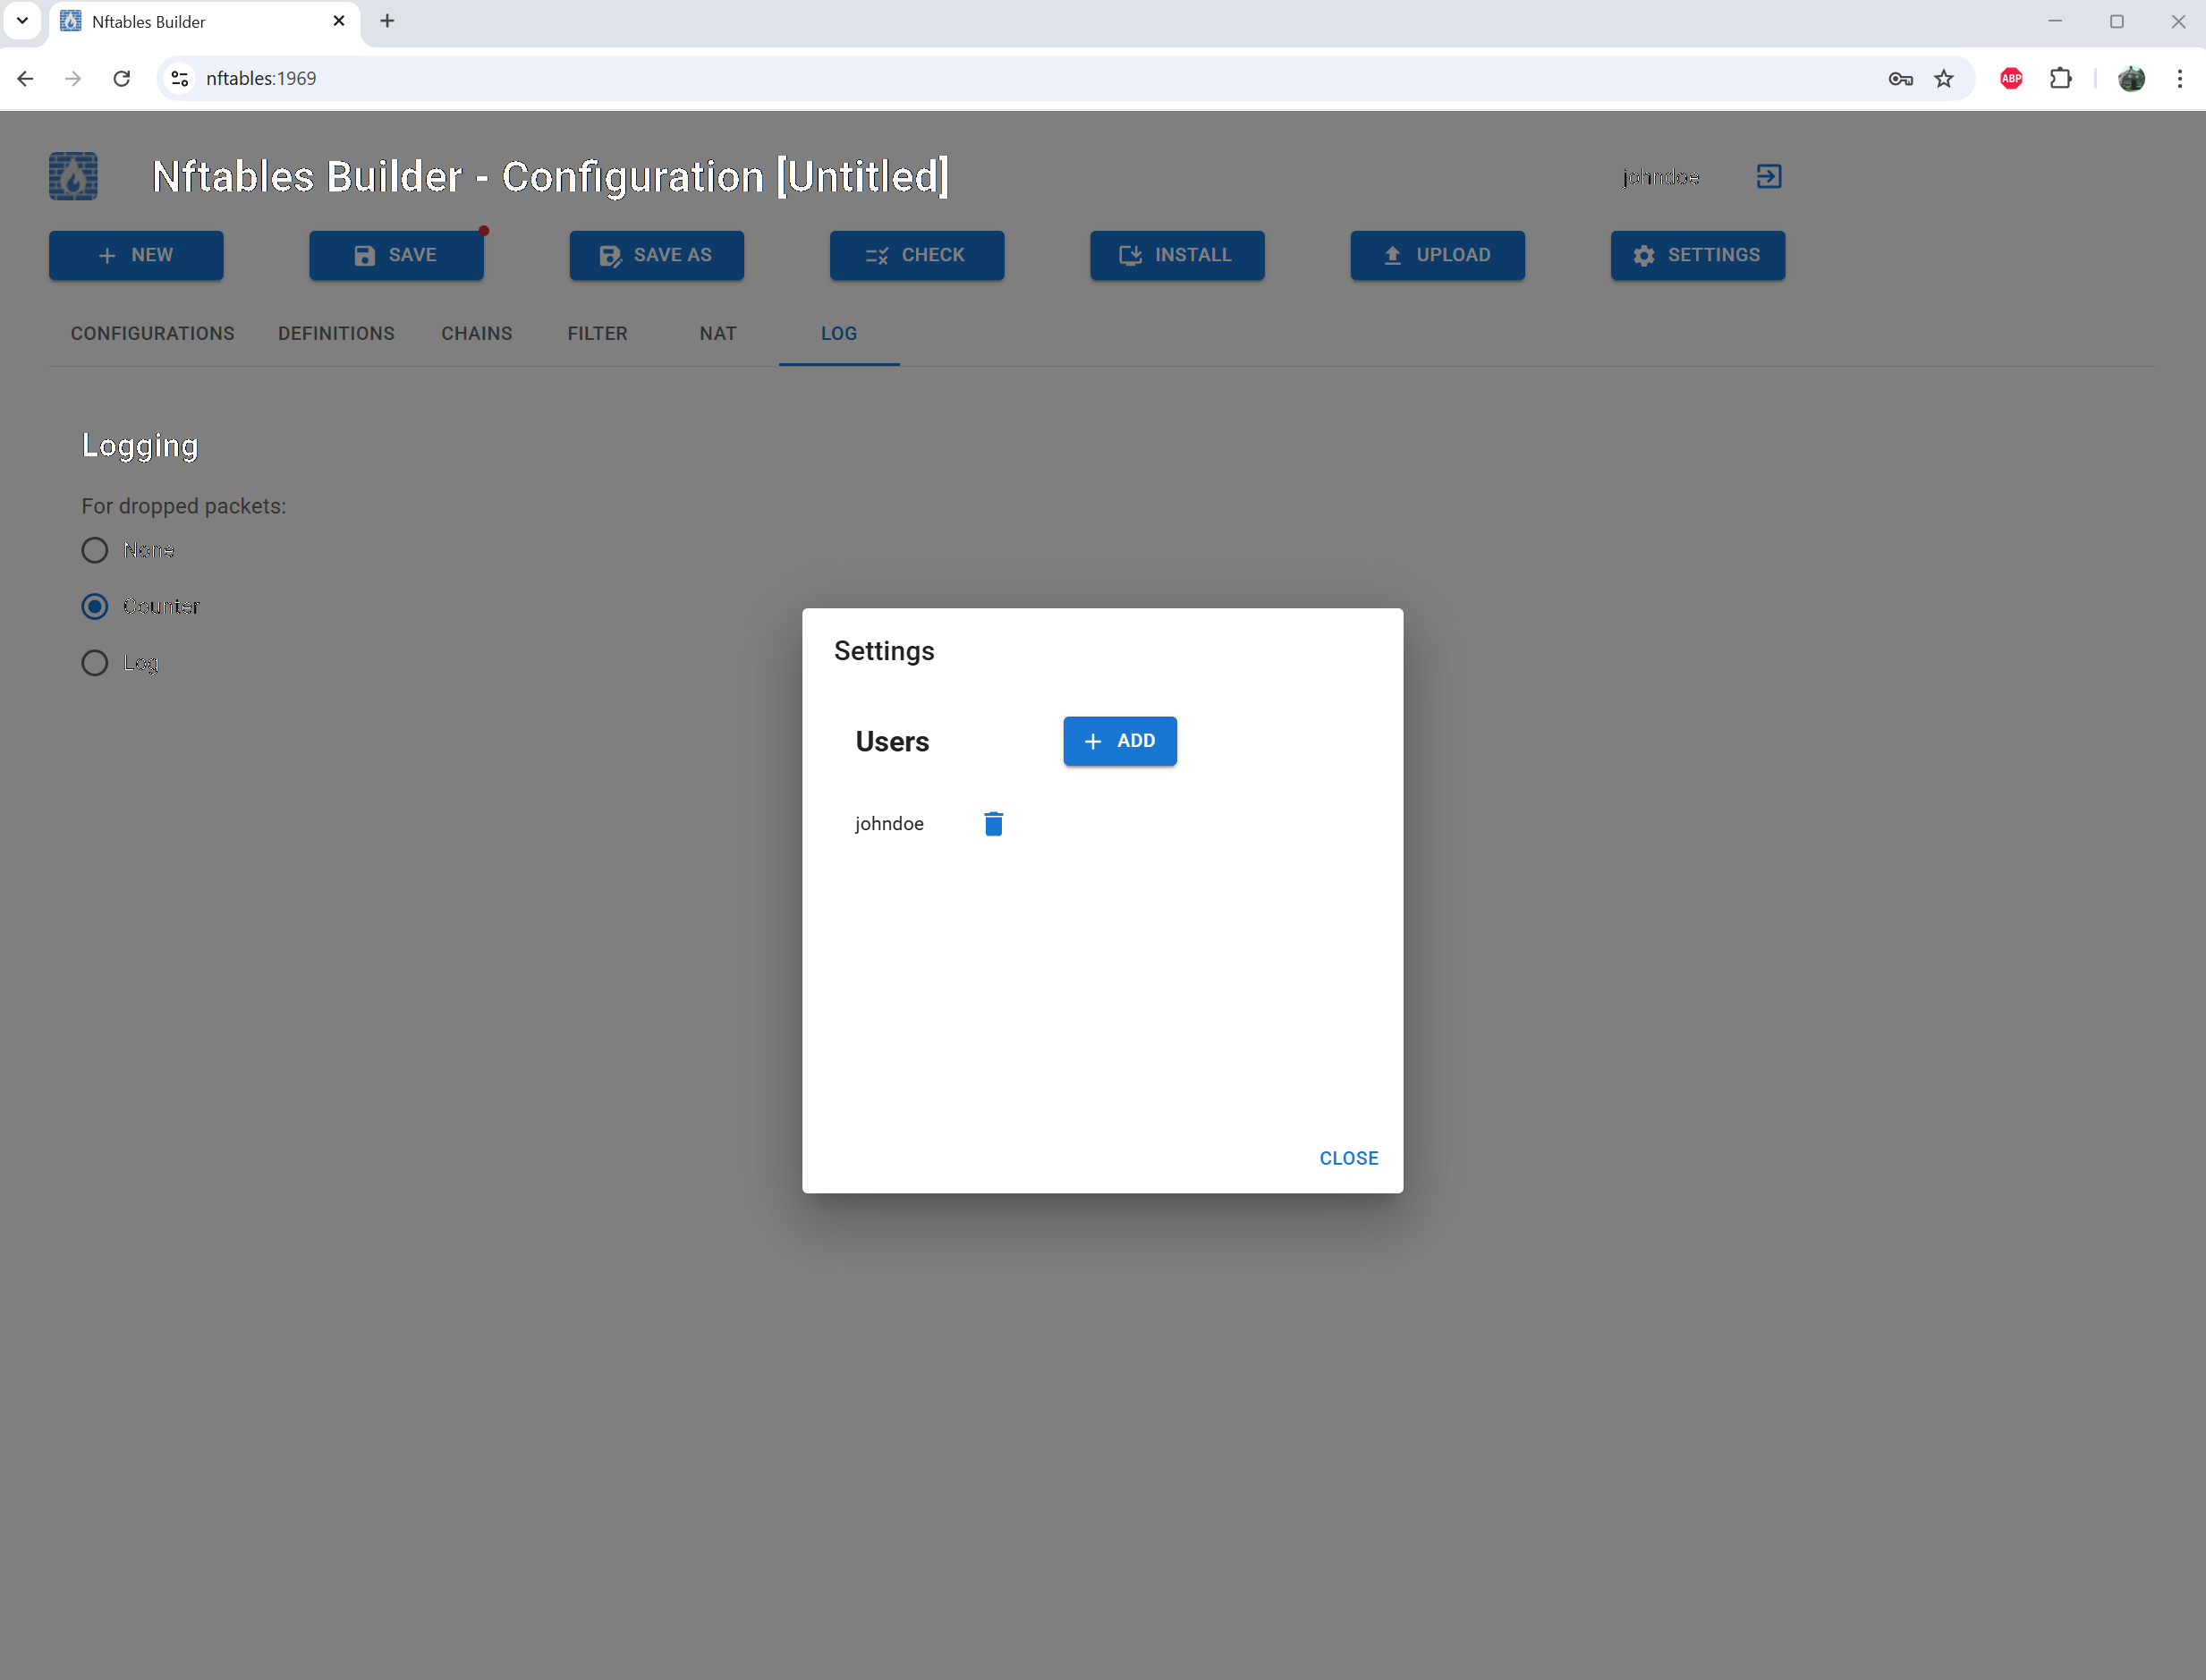
Use the settings screen to add or delete users
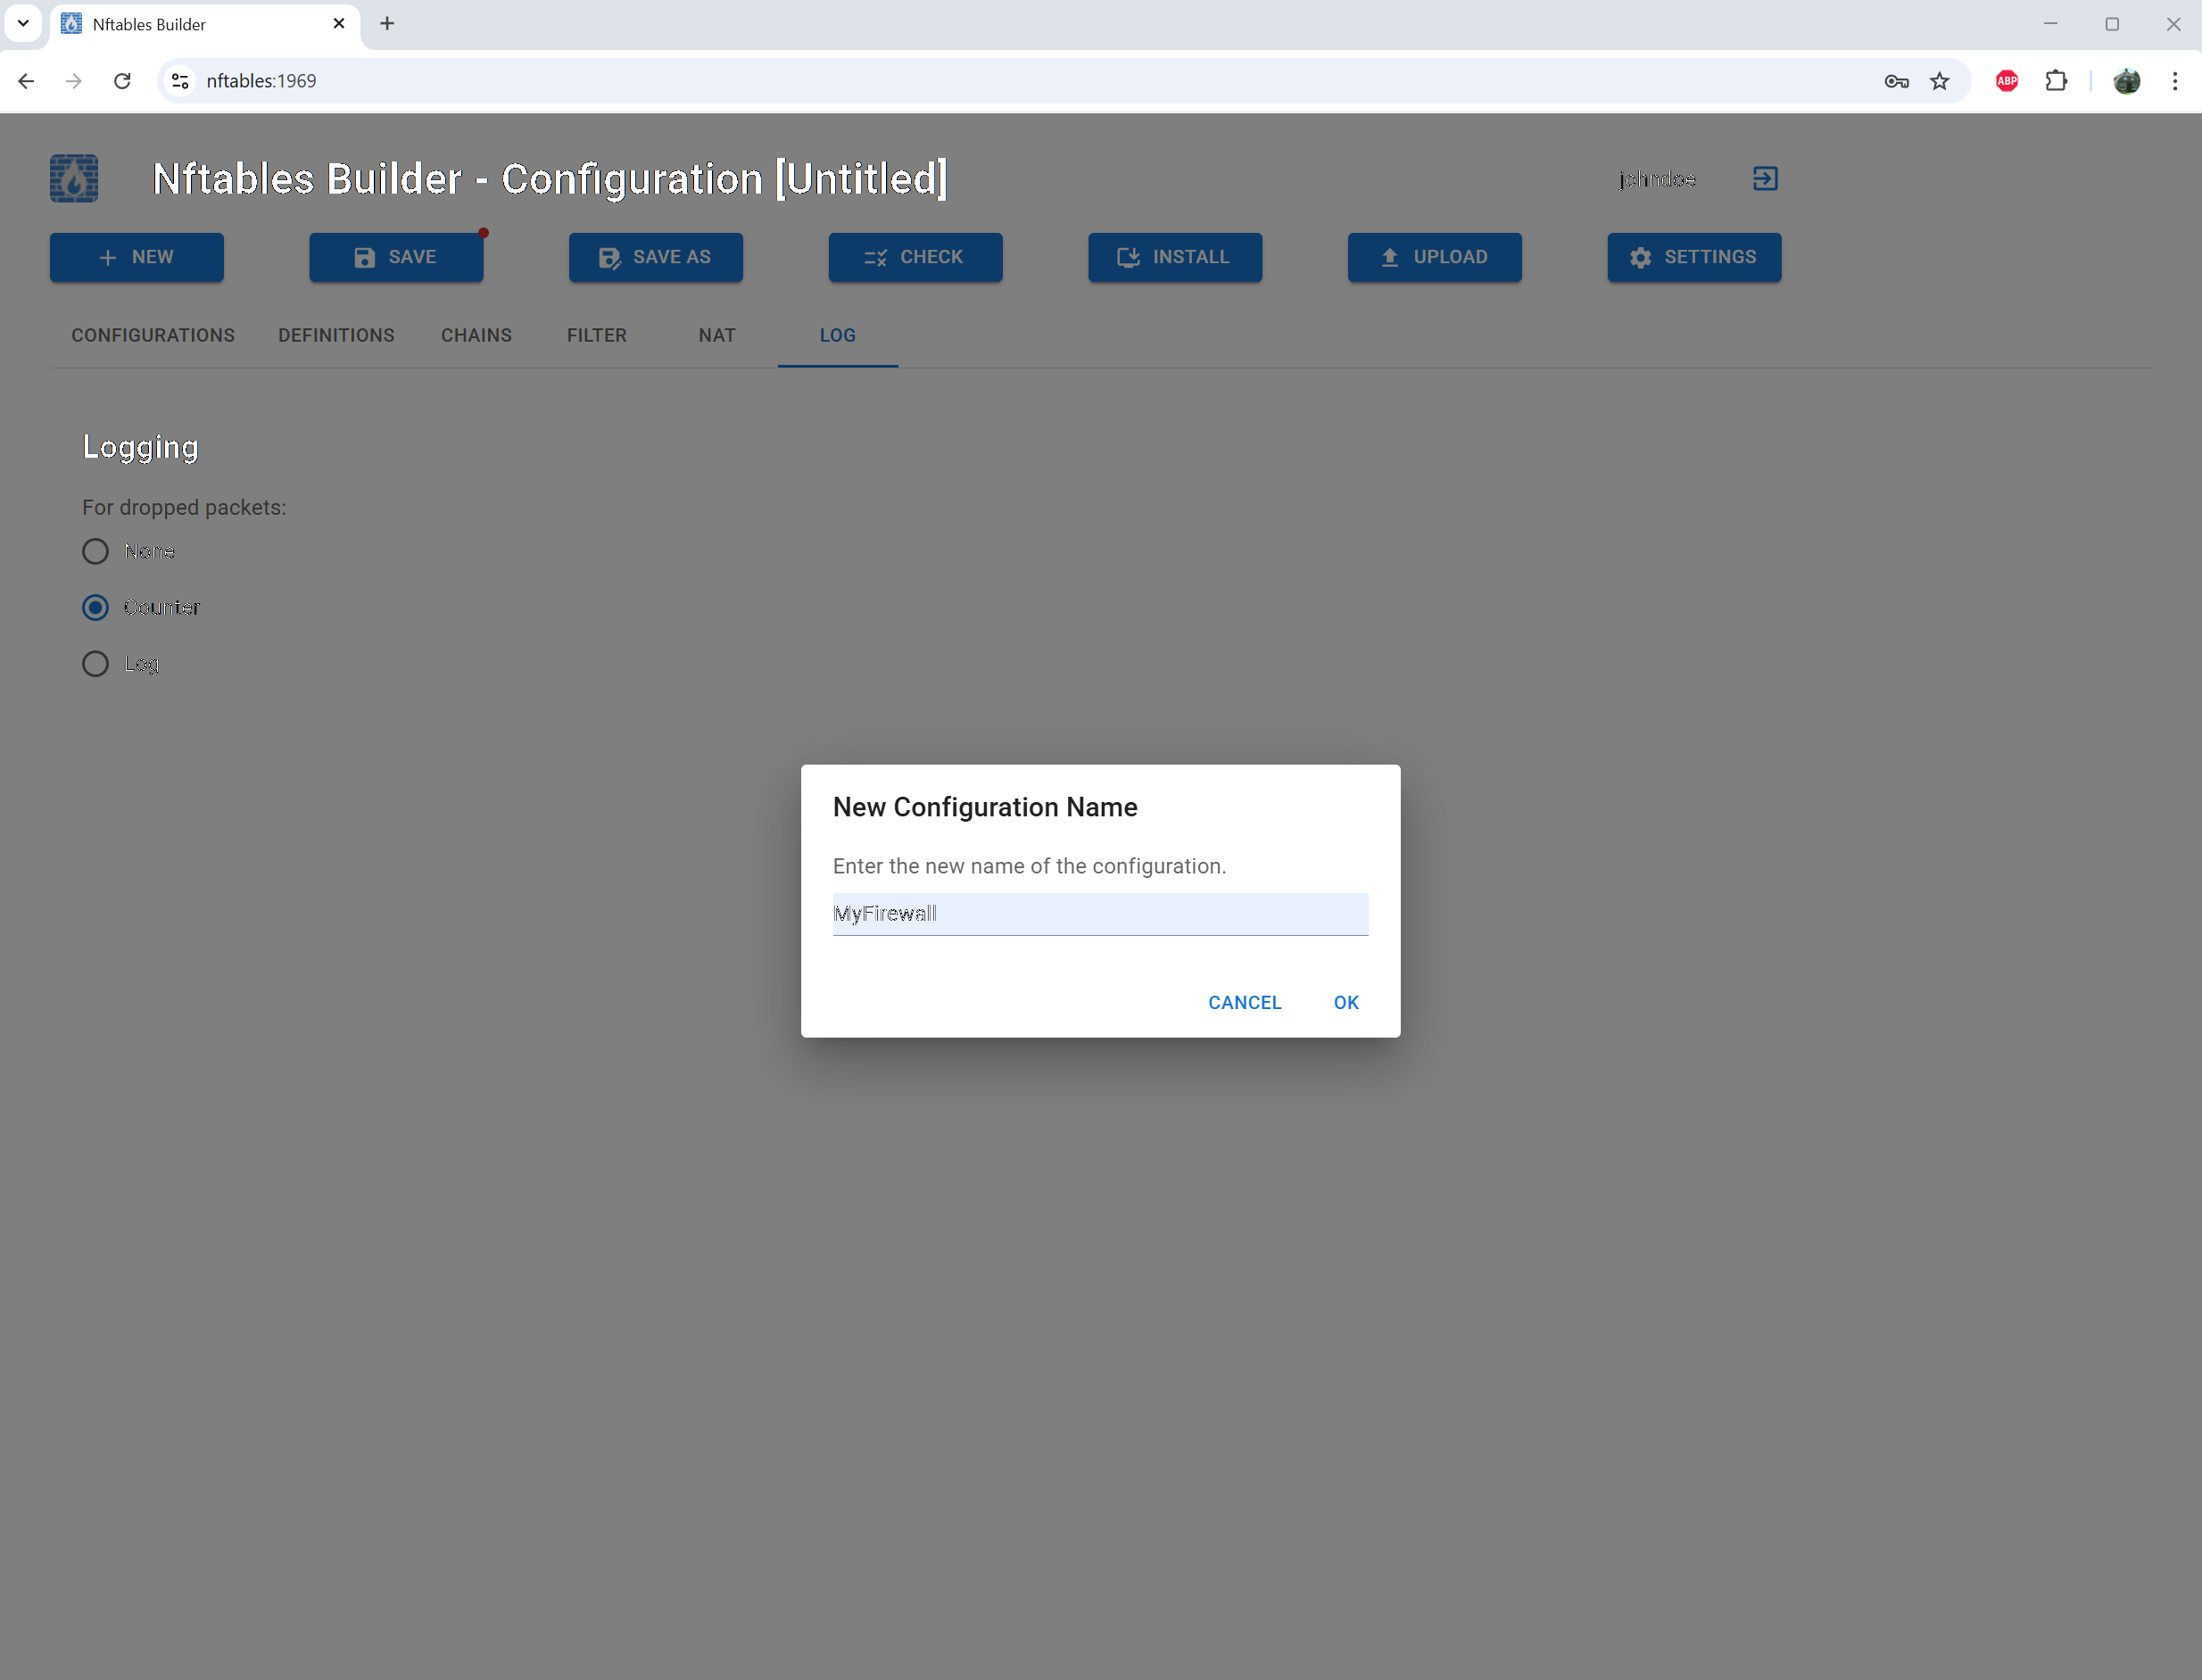
Use the Save As button to save the configuration

Load (to edit), download or delete a configuration
Documentation
Installation
Prerequisites
Of course you need a Linux system with nftables installed. You can check this by running
nft --version
Furthermore wget and tar are needed to download and extract the application files.
Download
Download the latest version from the download section of this website or run:
wget https://nftabablesbuilder.eu/releases/latest/nftablesbuilder.tar.gz
Extract
Extract the downloaded tarball:
tar -xvzf nftablesbuilder.tar.gz
This will create a directory named nftablesbuilder in the current directory.
Install
The downloaded files contain a script named install.sh. This script is tested on Ubuntu. It might not work on
other distributions.
In that case please read the script and perform the needed steps manually. Extra information can be found in the
nftablesbuilder file. This is the settings file and should be copied to /etc/nftablesbuilder. This is the only
file with a fixed location.
To run the install script, execute:
cd nftablesbuilder
sudo ./install.sh
Run
After installation, you can start the system by running:
sudo /opt/nftablesbuilder/sbin/nftablesbuilder
Now two processes will be started: webserver running as non priveledged user nftablesbuilder and the main process
running as root. The web interface will be available at https://<server ip address>:1969.
SSL setup
When connecting to the web interface, your browser will warn you that the connection is not secure. There are
three options to fix this:
-
Install the Nftables Builder CA certificate (extracted file nftablesCA.crt) to the Trusted CA store your
browser uses and have the FQDN nftables resolve to the ip address of the server. Now use https://nftables to
connect.
- Use your own selfsigned certificate.
- Use a certificate from a trusted third pary
With the last two options, you need to replace the default certificate and key files
(/opt/nftablesbuilder/ssl/nftablesbuilder.crt and /opt/nftablesbuilder/ssl/nftablesbuilder.key) with your own.
Run as a service
On Ubuntu create the file /etc/systemd/system/nftablesbuilder.service with the following content:
[Unit]
Description=Nftables Builder Service
After=network.target

[Service]
Type=simple
ExecStart=/opt/nftablesbuilder/sbin/nftablesbuilder
Restart=on-failure

[Install]
WantedBy=multi-user.target
Then run:
sudo systemctl daemon-reload
sudo systemctl start nftablesbuilder.service
To check the status of the service, run:
sudo systemctl status nftablesbuilder.service
To enable the service to start at boot, run:
sudo systemctl enable nftablesbuilder.service
Now the Nftables Builder will start automatically at boot.
User Management
The first time you use the webinterface, you need to create a user. Enter a username and password and scan the
presented QR code with your preferred TOTP authenticator app (for example Google Authenticator). Click the Add
button and you can now login with the created user.
Additional users can be created and deleted in the Settings screen after login. Users can not be edited.
When all credentials are lost, delete all files in the directory /var/lib/nftablesbuilder/users and reload the
browser. You can now create a first user again.
Definitions
Before creating rules, you need to define interfaces, hosts, host groups, services and networks. This can be done
in the Definitions screen. Start with the interfaces. Click the Detect button to fetch all network interfaces.
Identify them by the listed ip addresses and give them a recognizable name.
Everytime you have unsaved changes in your configuration a small red dot will appear on the Save button.
After defining the interfaces, define hosts, host groups, services and networks using the correponding tabs. ICMP
services will always be available automatically.
Creating chains
After defining the needed definitions, go to the Chains screen. Here you can generate the needed chains for your
configuration by clicking the Generate button. The specified names of the network interfaces will be used to name
the chains. Then adopt the default polices as needed and specify where extra rules are needed using the
switches.
If chains are generated again, all chains data is preserved as much as possible.
Creating filter rules
On the first tab some recommanded default rules are available. Disable the ones you do not need.
On the Custom tab you can create your own filter rules using drag-and-drop. You can move the definition boxes
around if you like. Items can only be dropped at positions where they make sense. ICMP service can be dropped
either as source or as destination service.
On the last tab you can define rules the system can not generate yet (IGMP or ARP for example). Please note that
Nftables does not allow a script to end with a comment line.
Creating NAT rules
Via the NAT tab, Nat rules can be defined, in the same way as the custom filter rules were created.
Logging
Via the LOG tab, the log type can be chosen. With the Log option dropped packets will be logged in text files.
Please make sure an attacker can not use this to overflow your disks
Checking
Use the CHECK button to run some sanity checks on your configuration. The check window will display warnings if
the configuration does not seem to make sense. Warnings and errors here will not prohibit you from installing the
configuration.
Installing the firewall
Use the INSTALL button to install the configuration on the firewall. The generated script will be checked by the
nft program first. If the script fails this check, it will not be installed.
Please make sure your script contains rules that allow your browser to connect the firewall at port 1969.
Otherwise the web interface can no longer be used to edit the firewall rules.
Managing configurations
On the Configurations tab, configurations can be loaded (to edit), downloaded and deleted.
Moving to a new server
To move to a new server perform the following steps:
- Download the installed configuration
- Install Nftables Builder on the new server
- Upload the configuration the new server
- Detect the network interfaces
- Give the detected interfaces the same names as in the original configuration
Either create new users or copy the files in the /var/lib/nftablesbuilder/users directory to the new server.